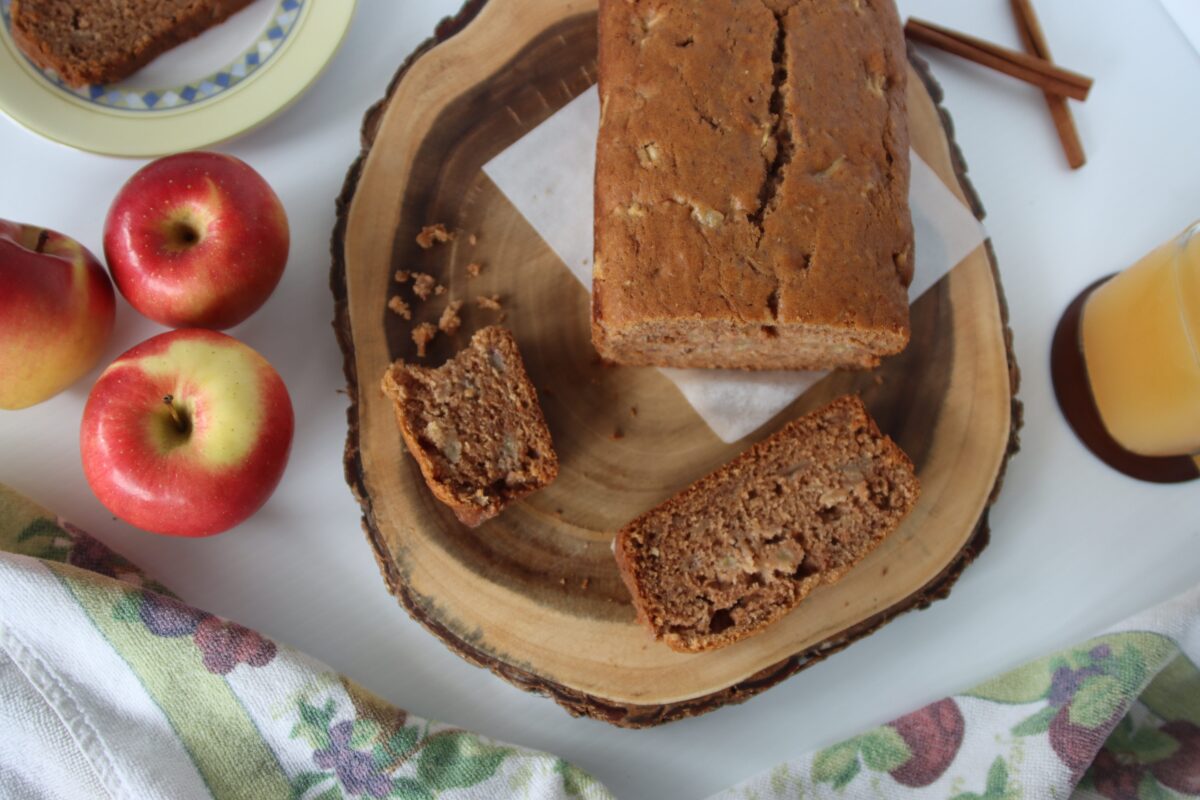
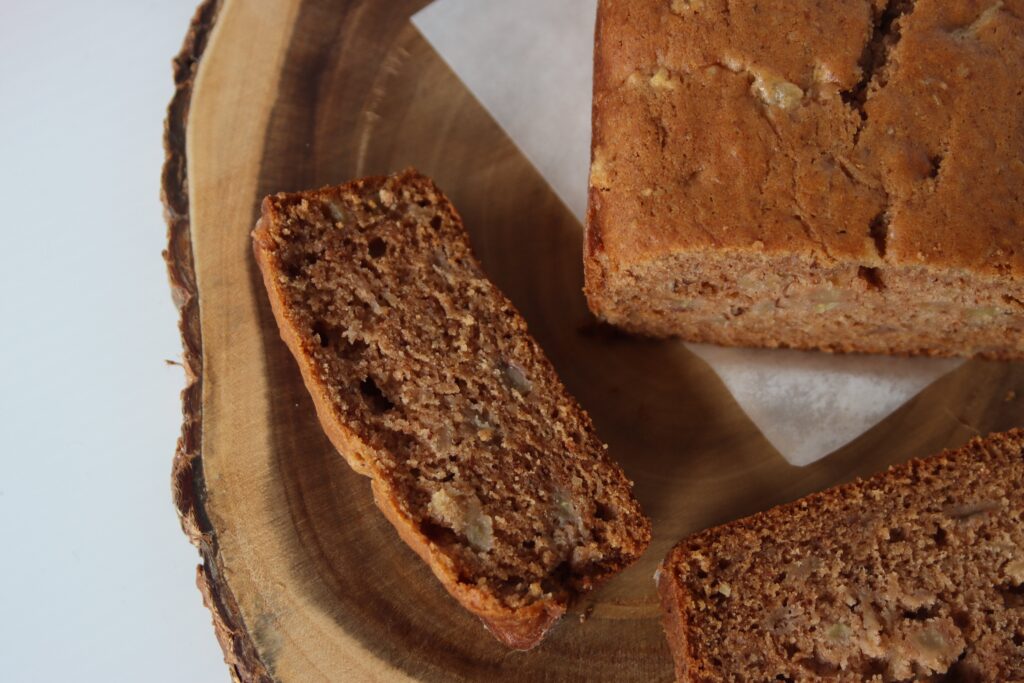
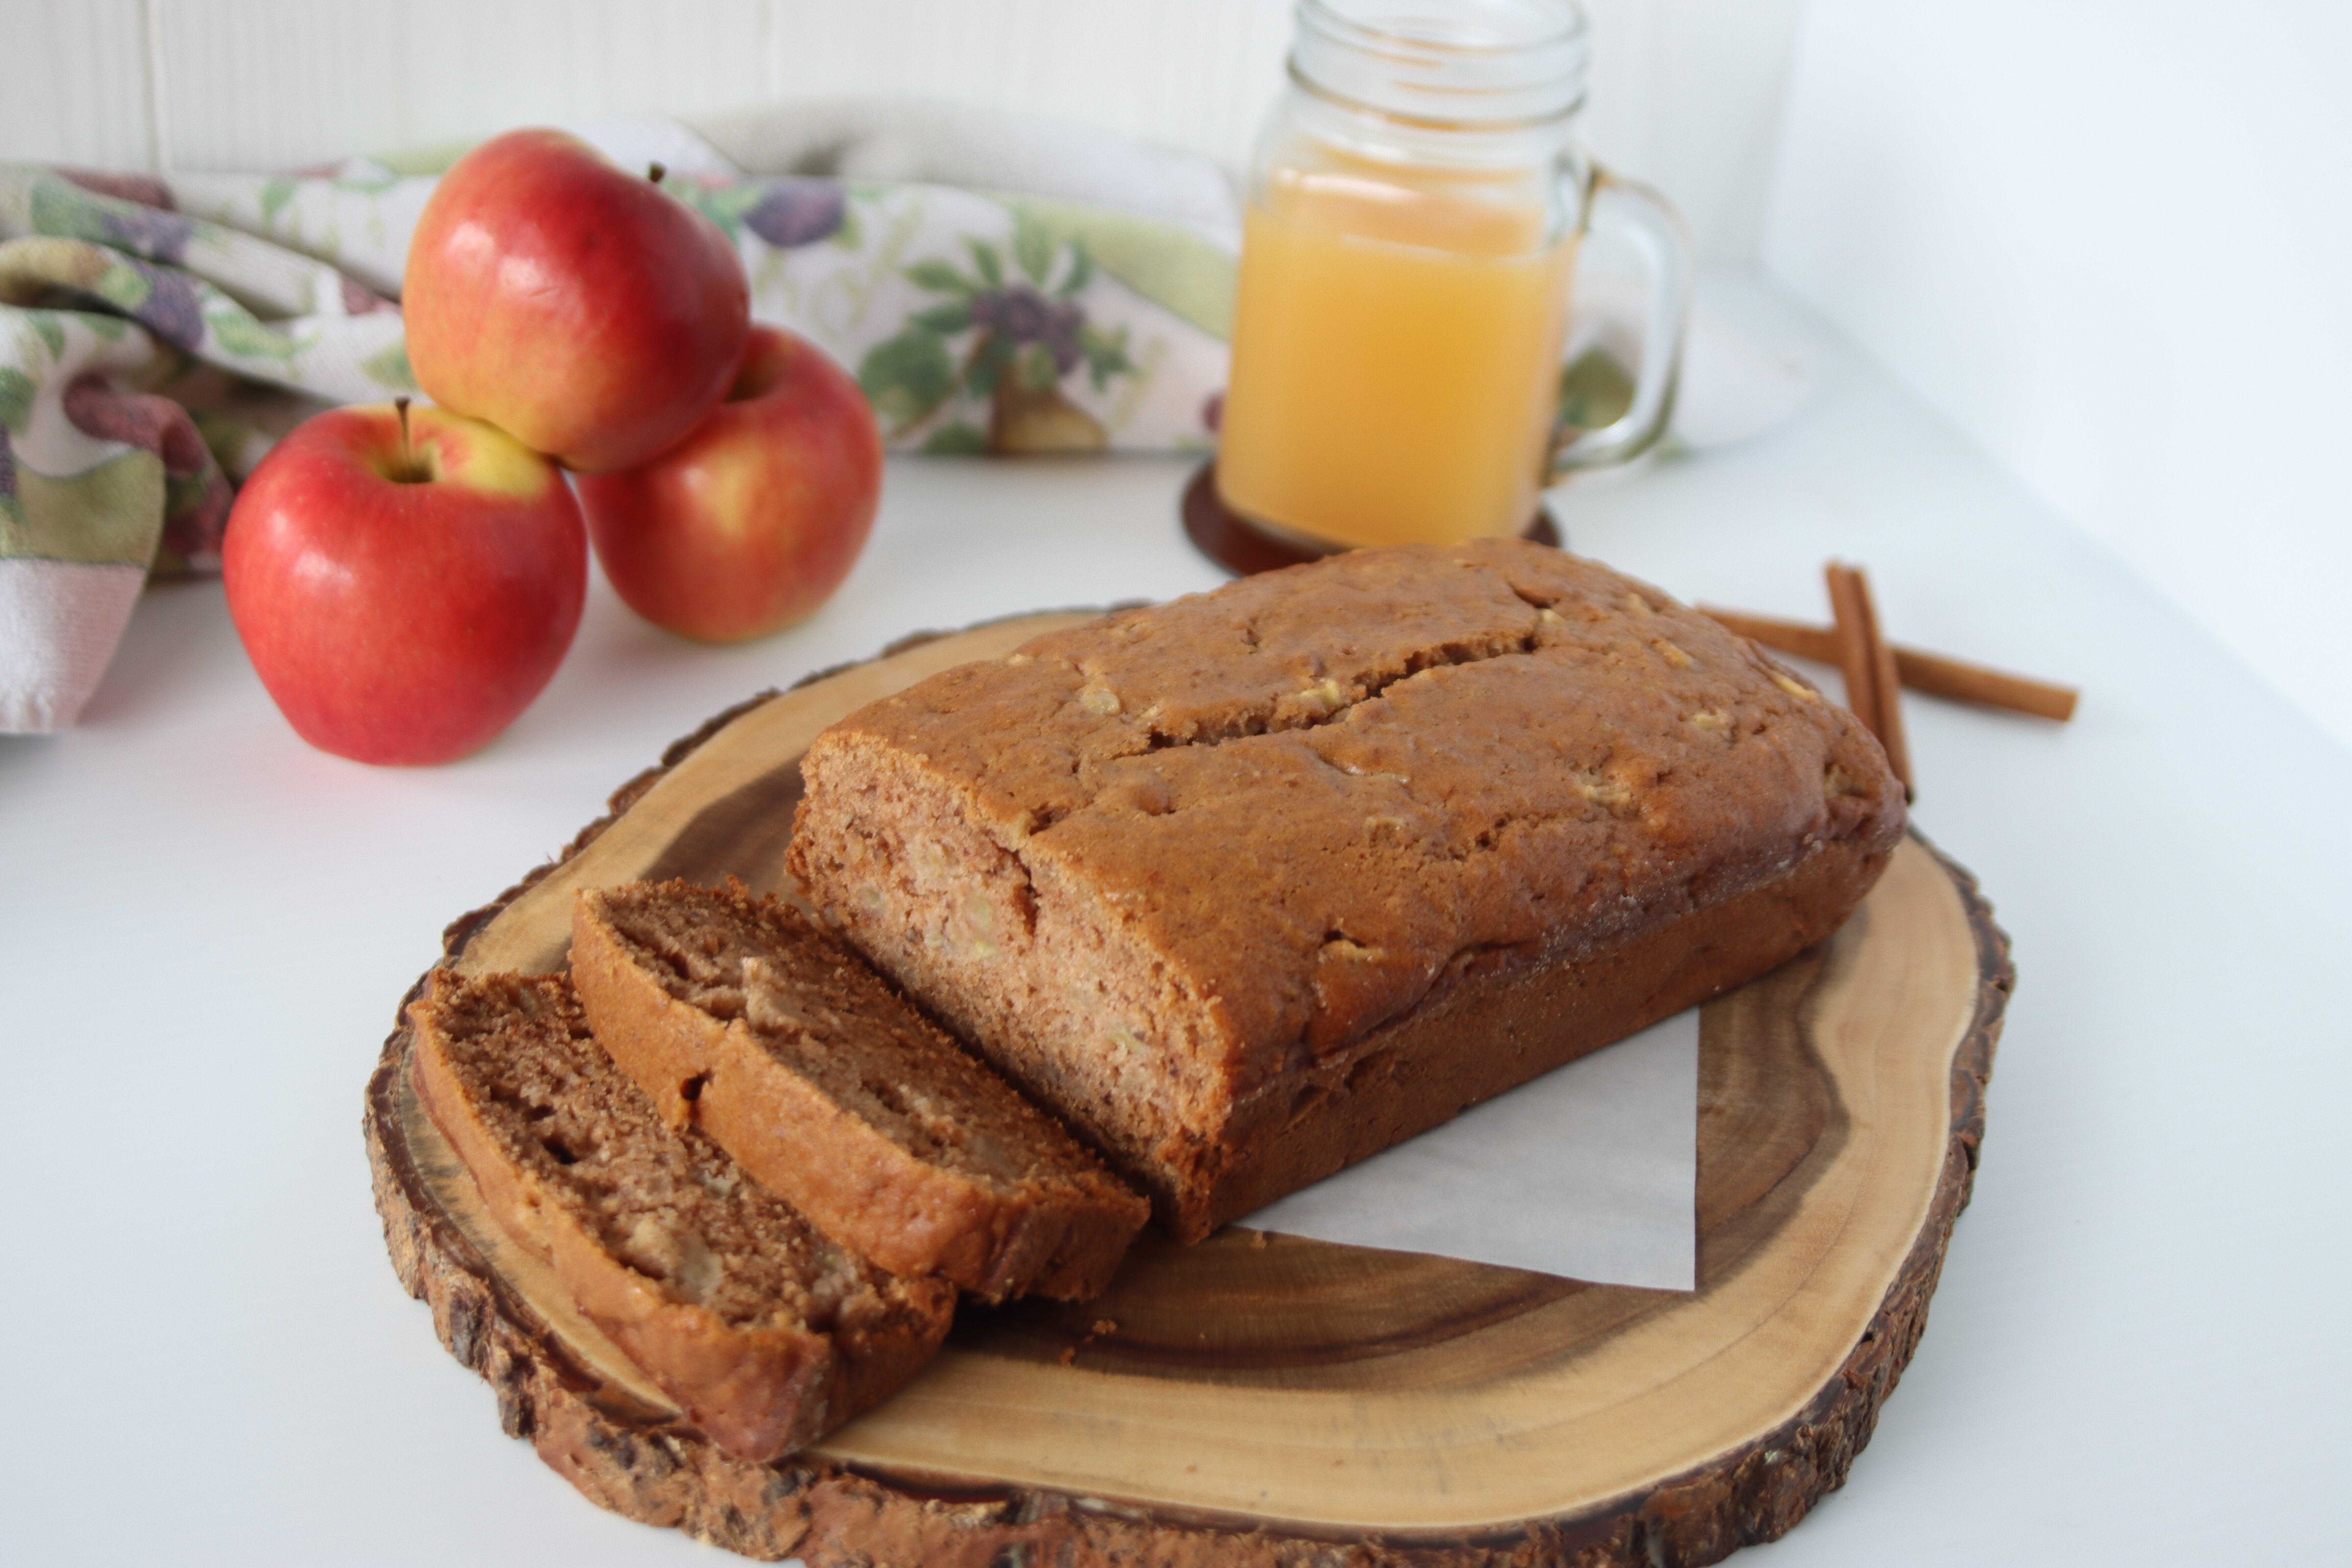
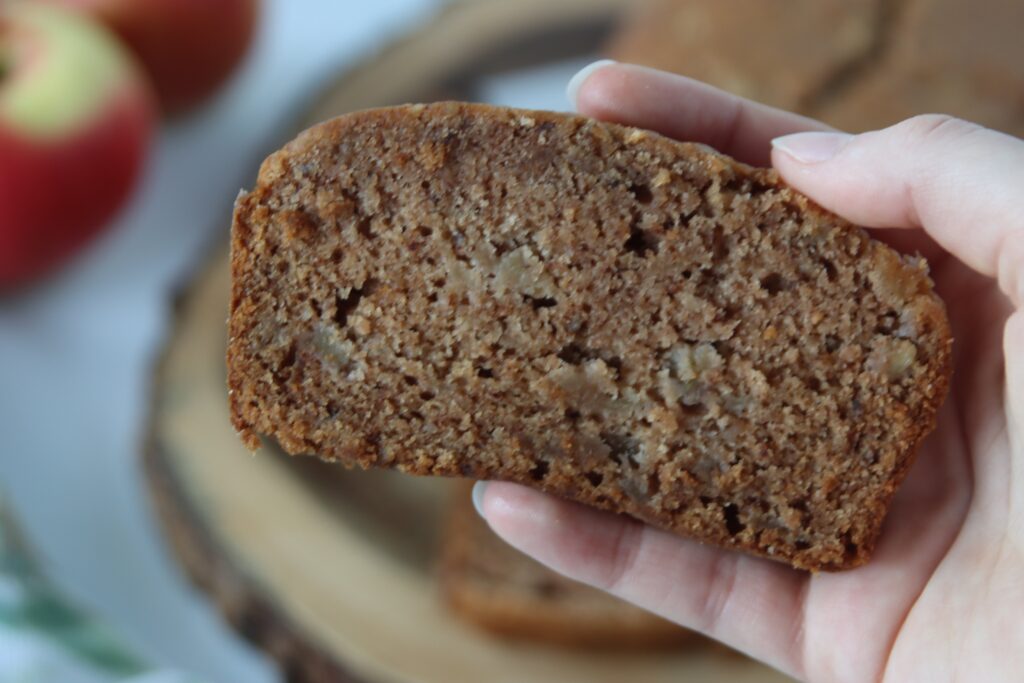
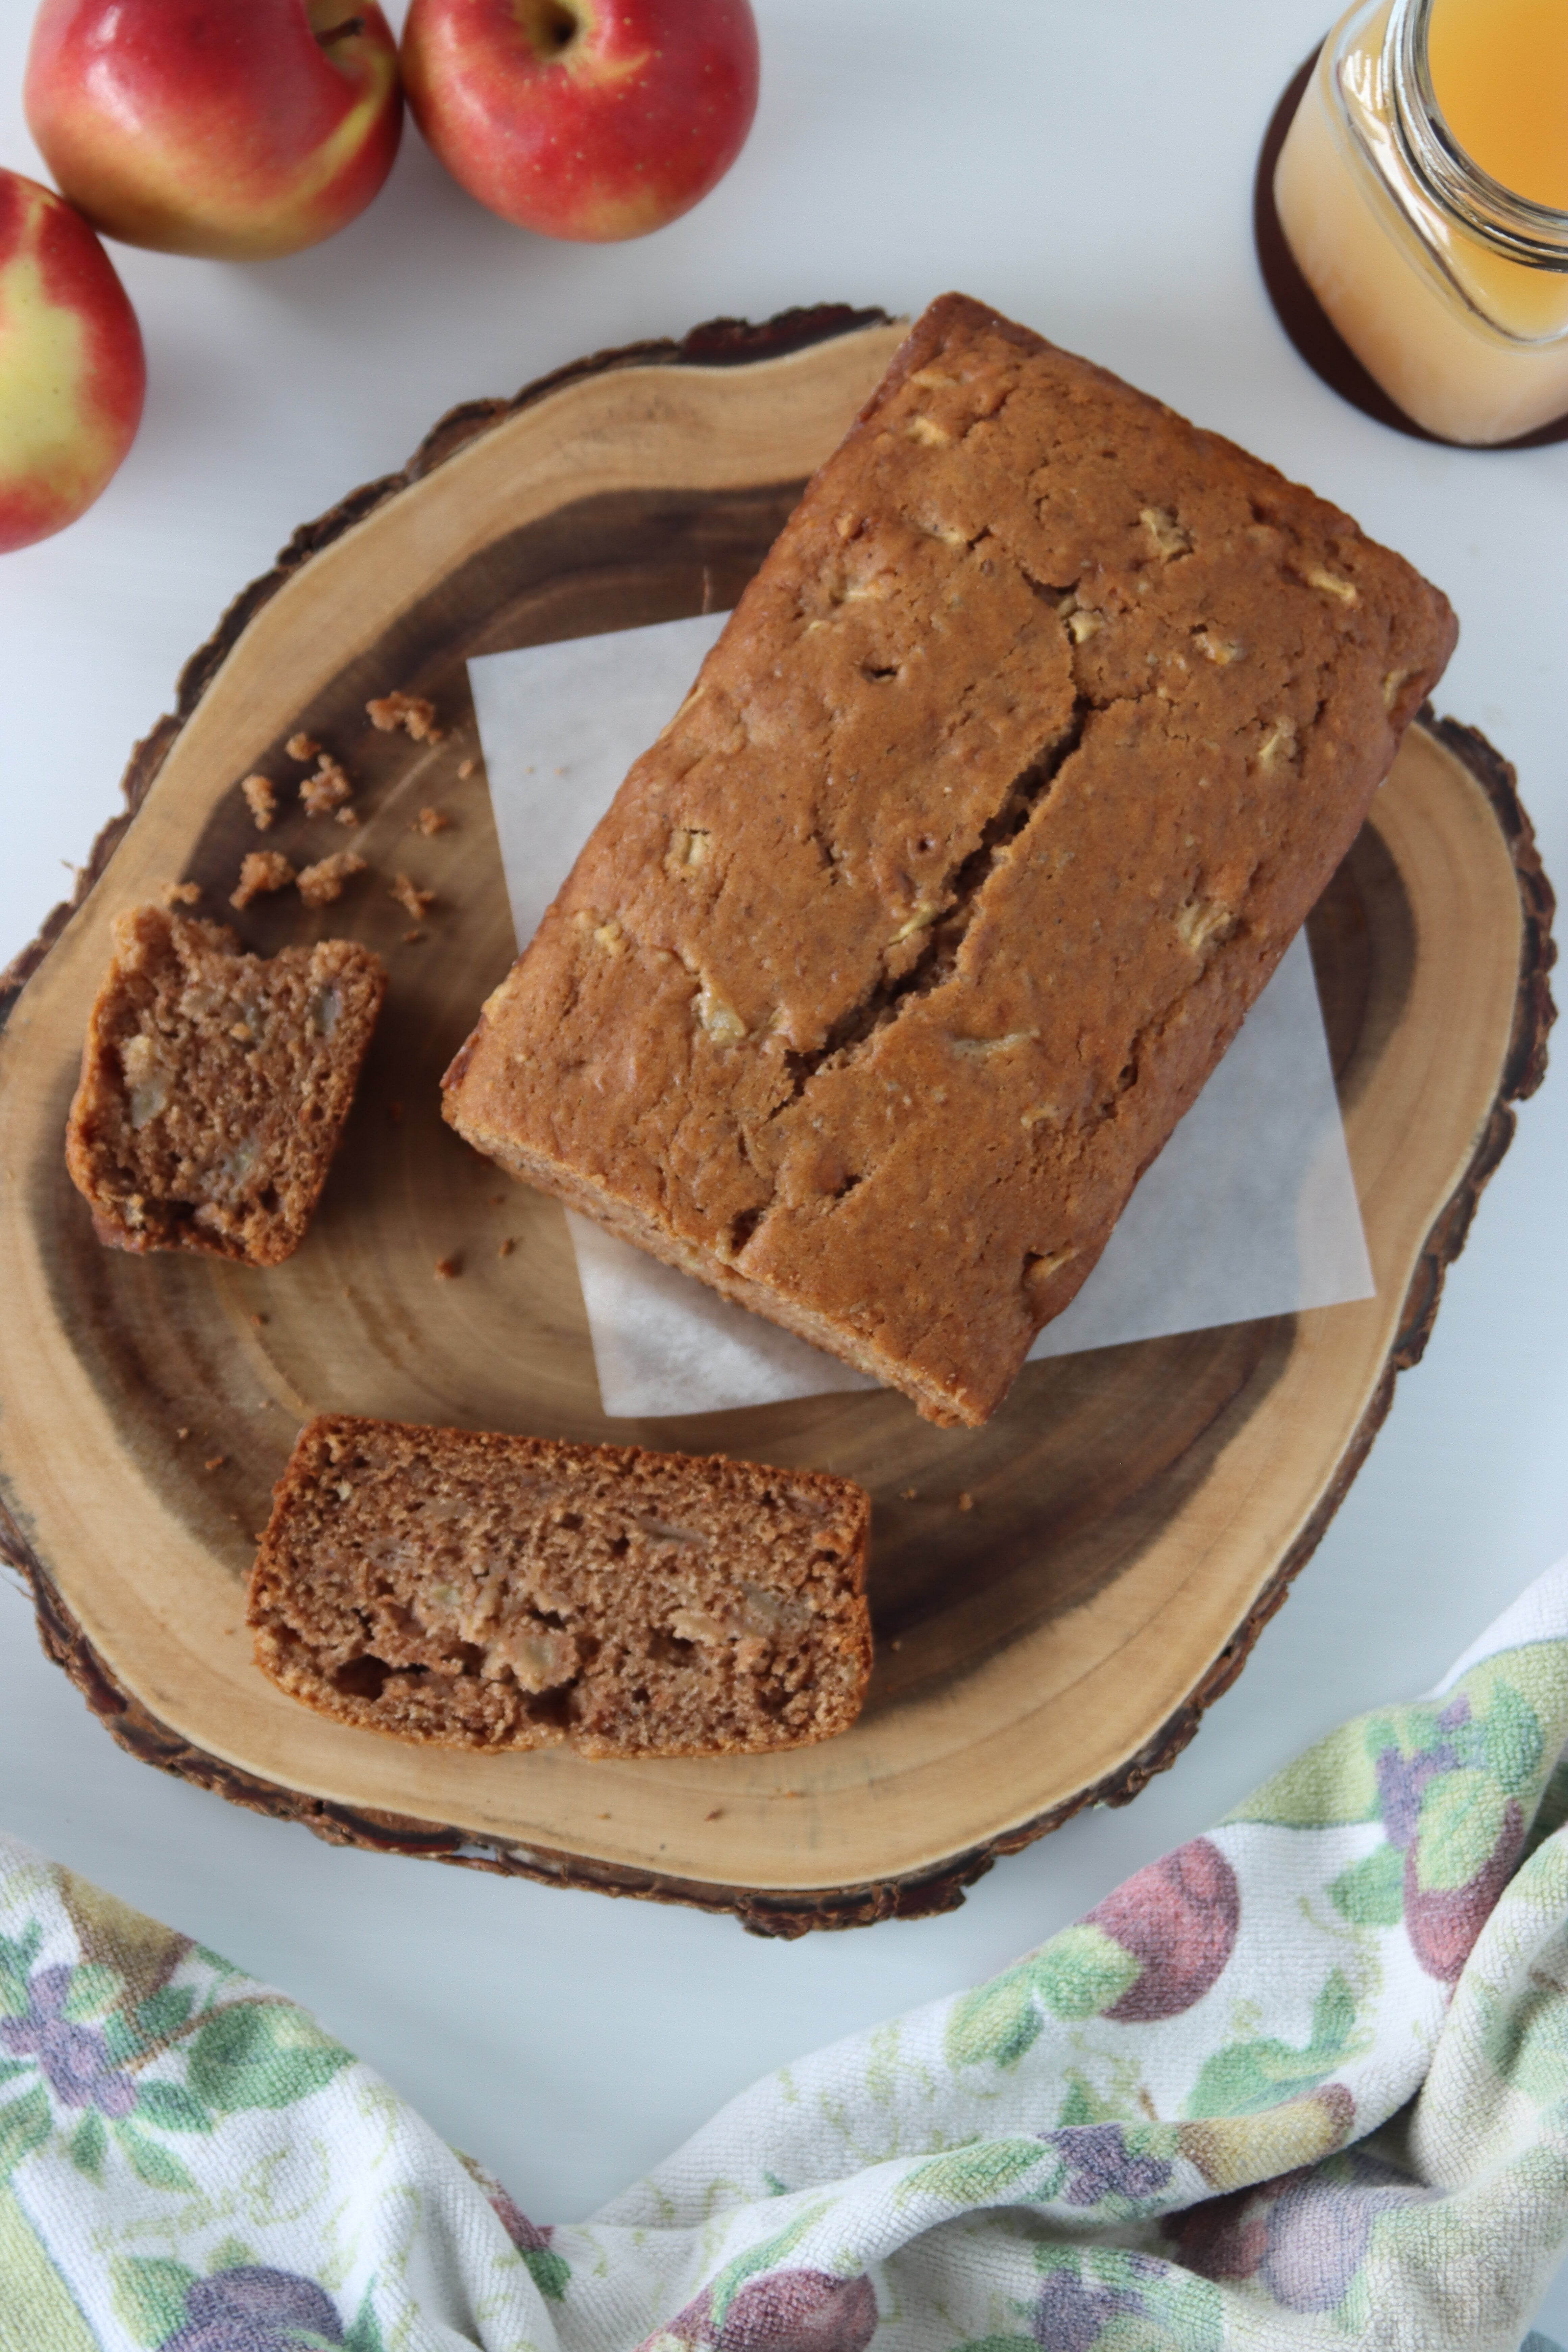
This is the only apple spice cake you’ll ever need! Insanely soft and incredibly moist, this loaf cake is perfect for chilly, fall days when all you want to do is drown yourself in apple cider and fill your nose with the smell of cozy, warm spices. Keep reading to find out how to make yourself the cake that’s sure to cure all of your autumn cravings!
The Story:
This recipe came to life when I was in the middle of testing recipes for my vanilla cake, in the fall of 2020. I still to this day haven’t found THE vanilla cake, but around that time, I needed to make an apple cider cake. I had apple cider to use up, leftover buttercream and no-bake cheesecake filling from the pumpkin cake I had made for Halloween sitting in the fridge, and a few cinnamon oatmeal cookies that had gotten crushed (probably in a school backpack) that now no one wanted to eat. Using a failed vanilla cake recipe as the base (modifying one of the 9 test recipes I had tried by that point), this apple cider cake was born.
The first time I made it, using up all these leftover ingredients, it was in the form of a layer cake. Don’t get me wrong, it was a good layer cake, but it got overpowered by the frosting and filling. The main thing you ended up tasting was that no bake cheesecake filling, with the crunch of a cookie piece every few bites. However, in between those flavours of cream cheese, sweet frosting, and cinnamon oatmeal, you’d find the softest, moistest cake you’ll ever try. So I knew I just had to try it as a loaf.
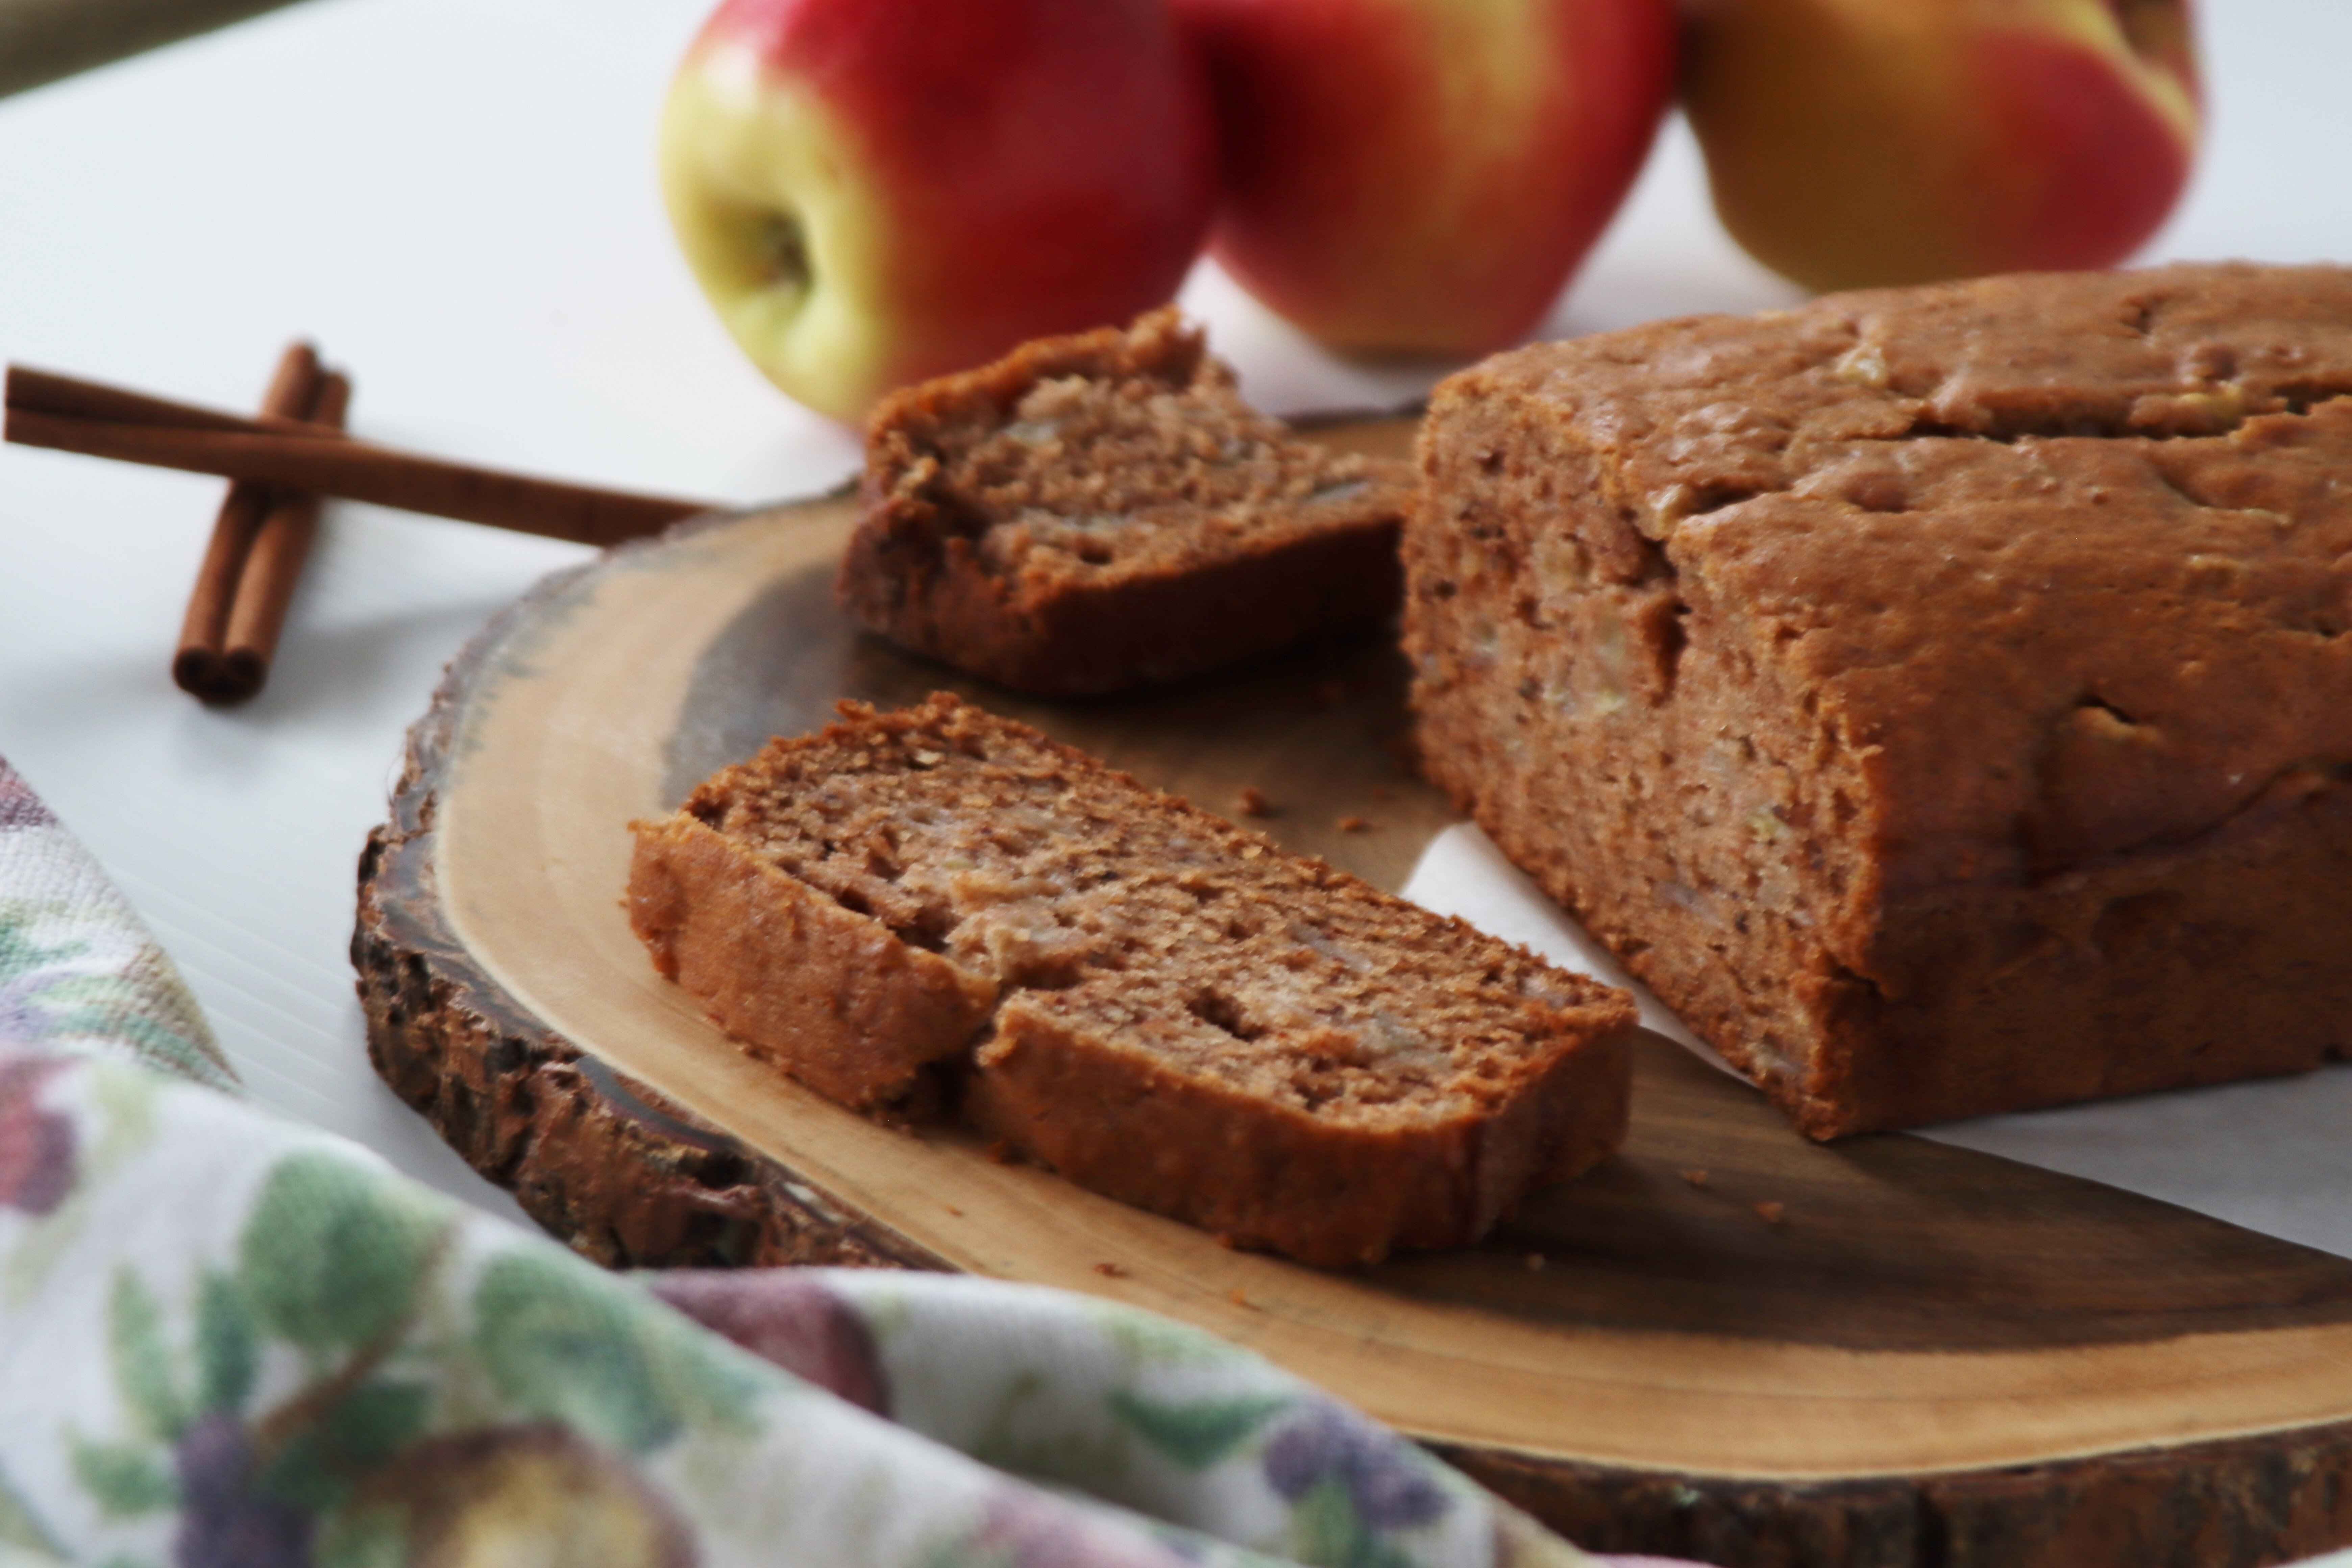
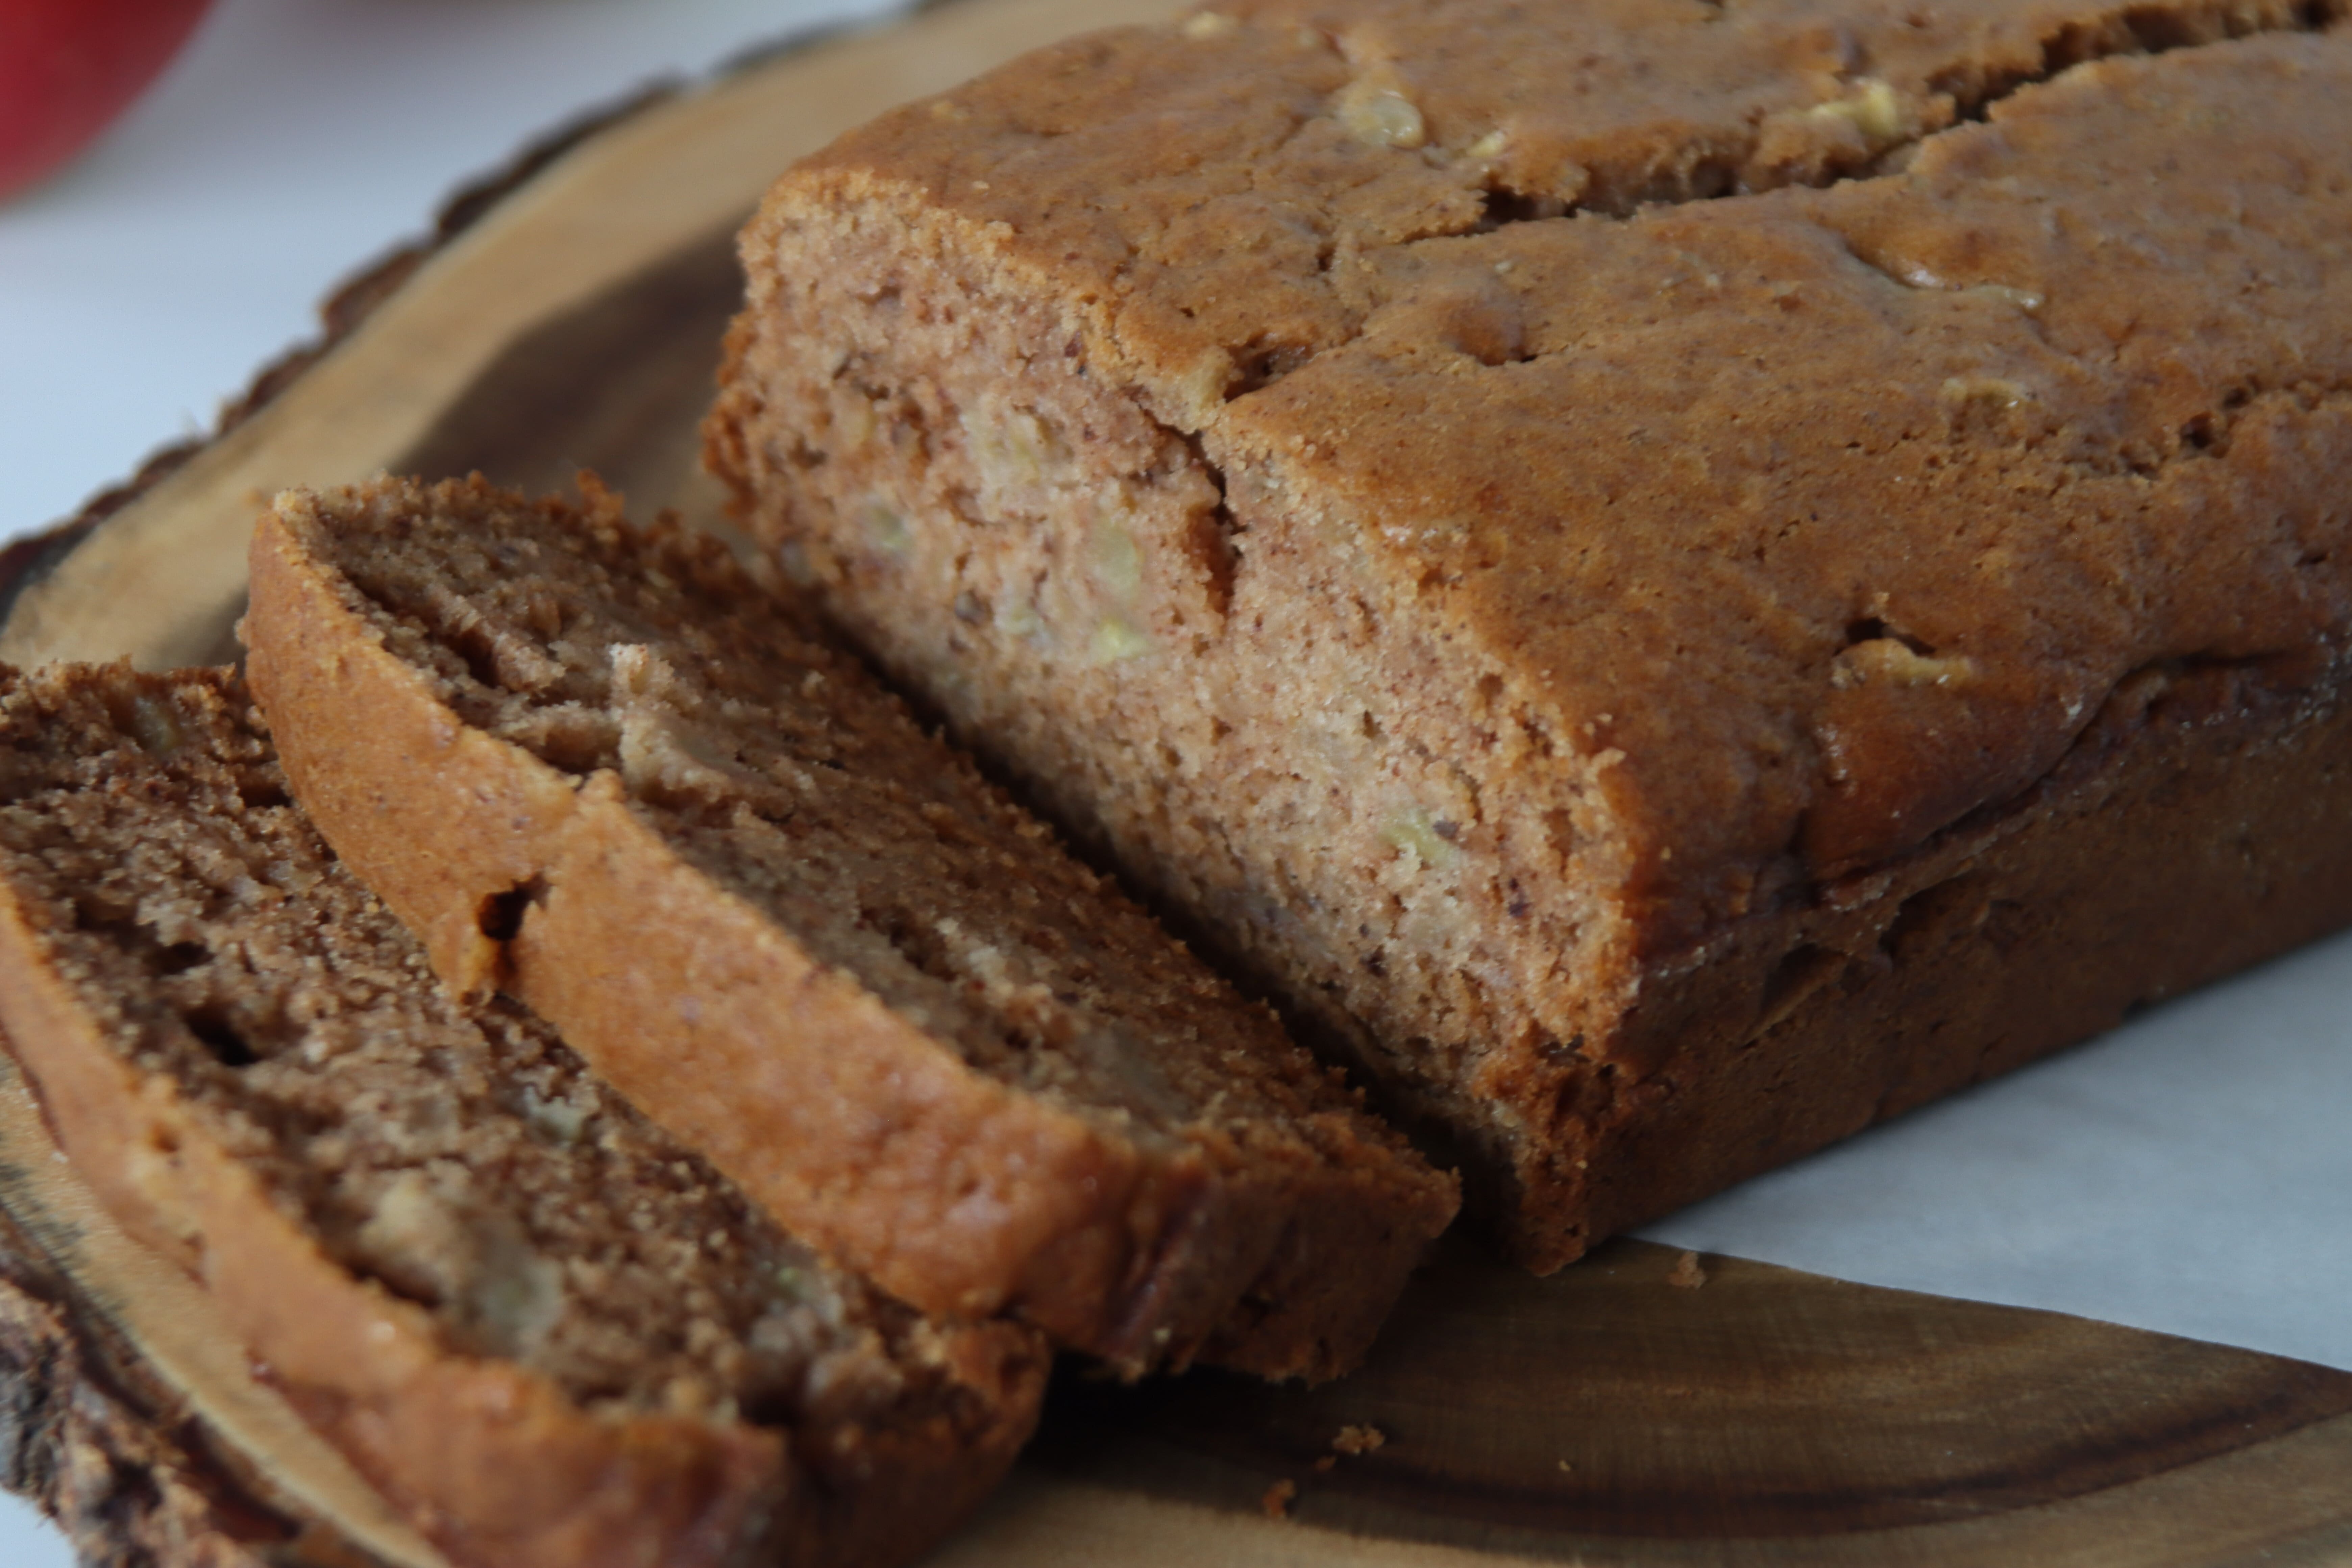
When I made it next in the loaf pan, I swear the minute it came out of the oven smelling like cinnamon apple heaven, we cut into it and started gobbling it down like the hungry-hungry-hippos we are (except for my mom, of course, since she likes to savour each bite as she calls it). If I’m being completely honest, I’m pretty sure I had at least 3 slices of this cake that night, and I’m 100% sure we ate more than half of it. It’s just that good.
But what makes this cake that good, you ask? Well, it’s super soft, incredibly moist, not dense at all, has all the right spices, and has apple flavour from 3 different sources! I could go on and on about how amazing this cake is, and unlike some people, I would eat this cake no matter what season it is! (When debating what flavour of cake to make one day this summer, trust me when I say I was sad that my suggestion of making this cake was rejected.)
Now, let’s take a deeper look into this cake.
The Ingredients:
Eggs, Fats, & Sugar:
Unlike a majority of cake recipes, which start by creaming the butter and sugar, then adding in your other fats, binding agents, and flavourings (e.g., oil, eggs, vanilla etc.), this recipe flips the order of this process. We still keep the dry and wet ingredients separated to alternate adding at the end, but instead of mixing the butter and sugar first, we mix the eggs and sugar, but more specifically, only the egg yolks.
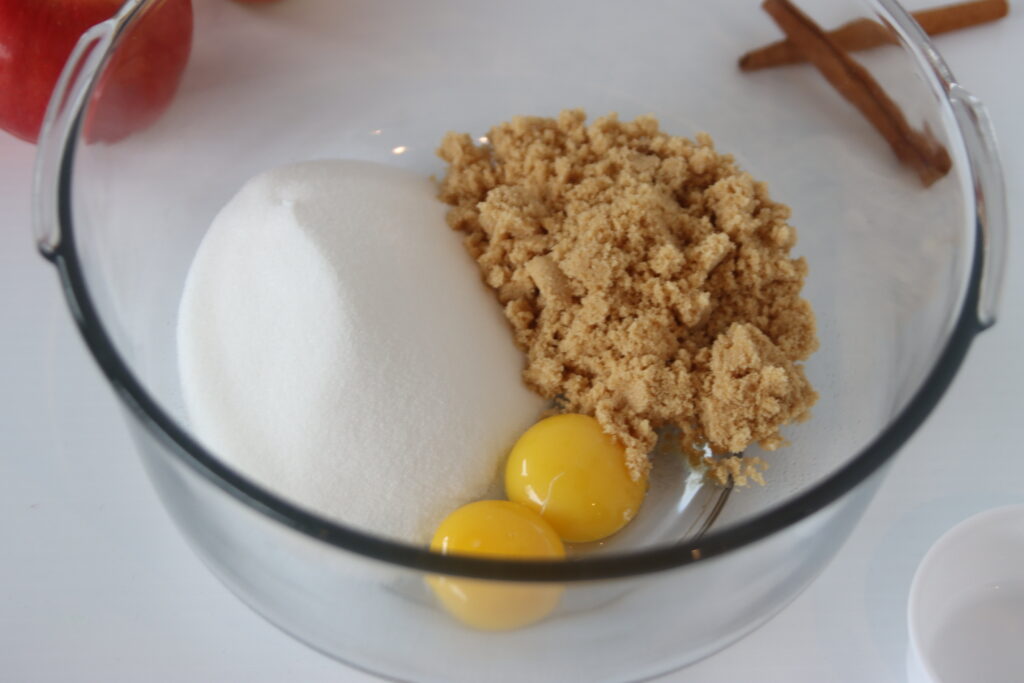
With eggs, each part adds different things to the recipe. The egg yolks, on one hand, are used to bind the ingredients together, which helps provide structure to the cake, in addition to the nice yellow colour it adds. Egg whites, on the other hand, have this really unique characteristic that allows them to be whipped into fluffy white clouds, instead of staying in the clear liquid form it comes in. By incorporating air into the egg whites, until we reach a stage called “stiff peaks”, we give lift to the cake since the oven heats those air bubbles and they begin to rise. Which is exactly what we do in this cake recipe.
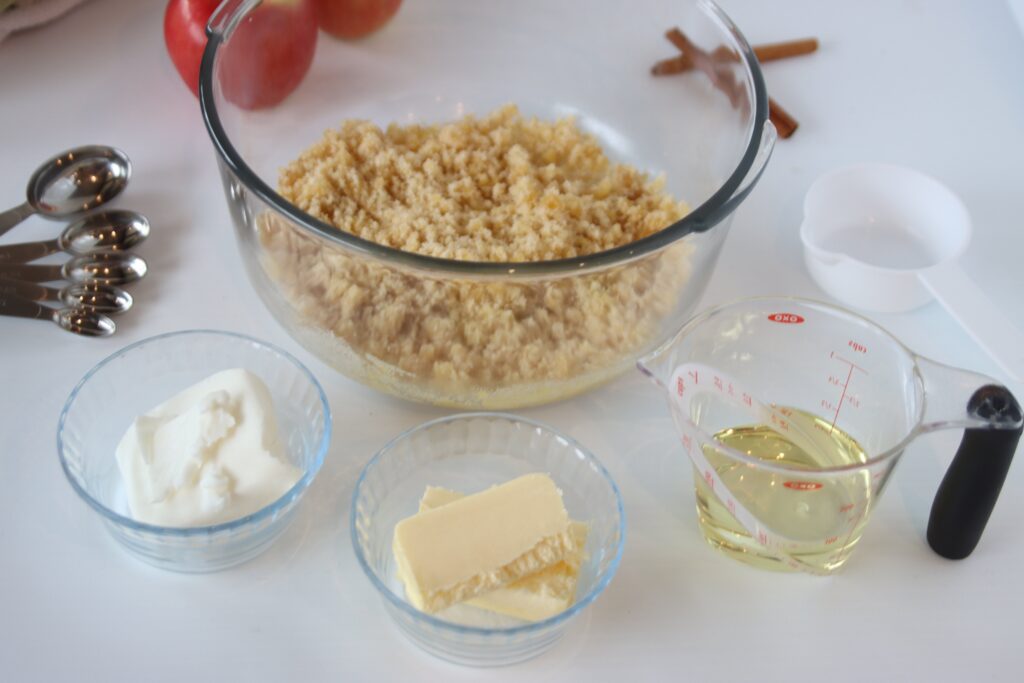
So, with one bowl of sugar and egg yolks, we then add in our fats. Unlike standard recipes that use solid fats like the butter that they cream with the sugar, I prefer using liquid fats, like melted butter and oil. I actually like using part Crisco as well (or any other kind of shortening) since all of these different types of fat give different results in a cake.
For example, all oil will have a lot of moisture since it’s already a full fat liquid. All butter will result in a heavier, denser cake because of the gluten that forms with it’s water content. And all Crisco, thanks to it’s higher melting point and no water content, leaves a taller, more tender cake. (If you want to learn more about the difference between these fats, read this great article by Wide Open Eats.)
Having a balance between all of these fats is key to having the perfect cake: enough moisture, enough structure, and enough tenderness. However, if you don’t have one of these fats on hand (e.g., if you don’t have shortening where you live), it should turn out very similar if you substitute it with one of the other fats. As long as you have about the same amount of liquid fat (about 9 tbsp), it should turn out fine.
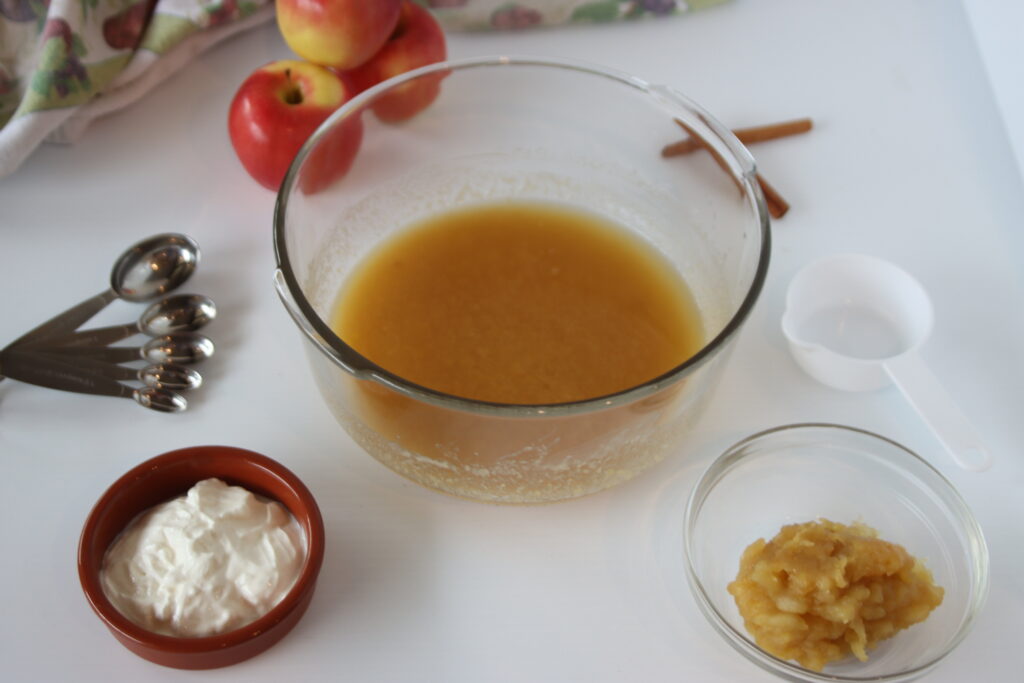
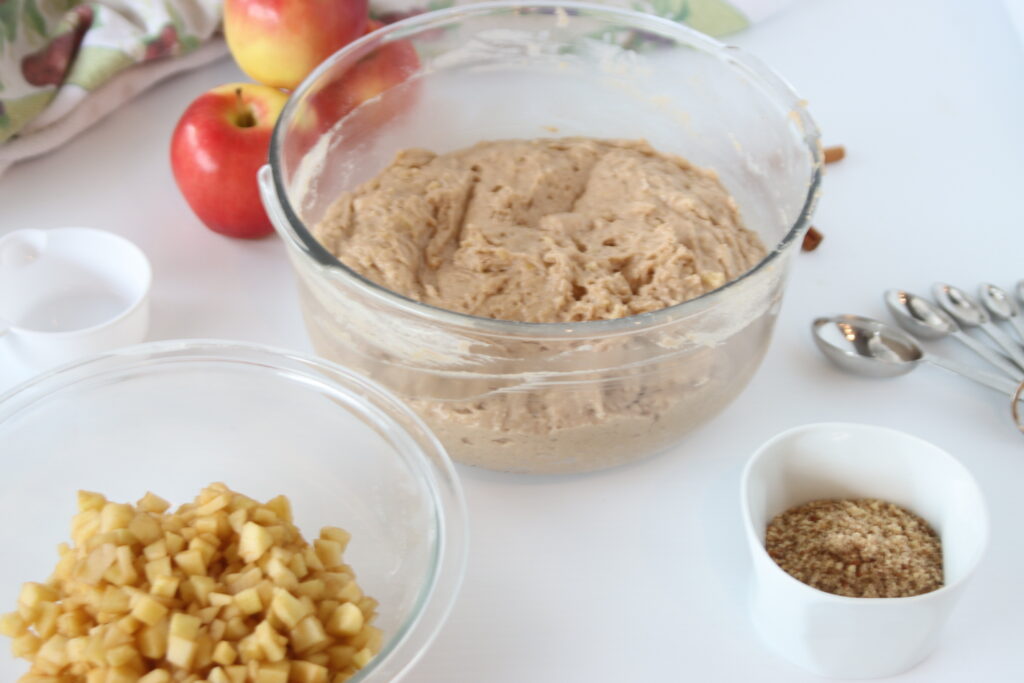
Next, in this bowl with our egg yolks, sugar, and fats, you add in even more moisture: sour cream. Sour cream is an amazing moisture add-in, since it has both the necessary fat and the dairy to give the cake a smoother, fuller taste. After the sour cream, you’ll add in your apple mush as I like to call it.
Apple Mush:
This apple mush is the first of 3 sources of apple flavour, made from creating a sort of applesauce.

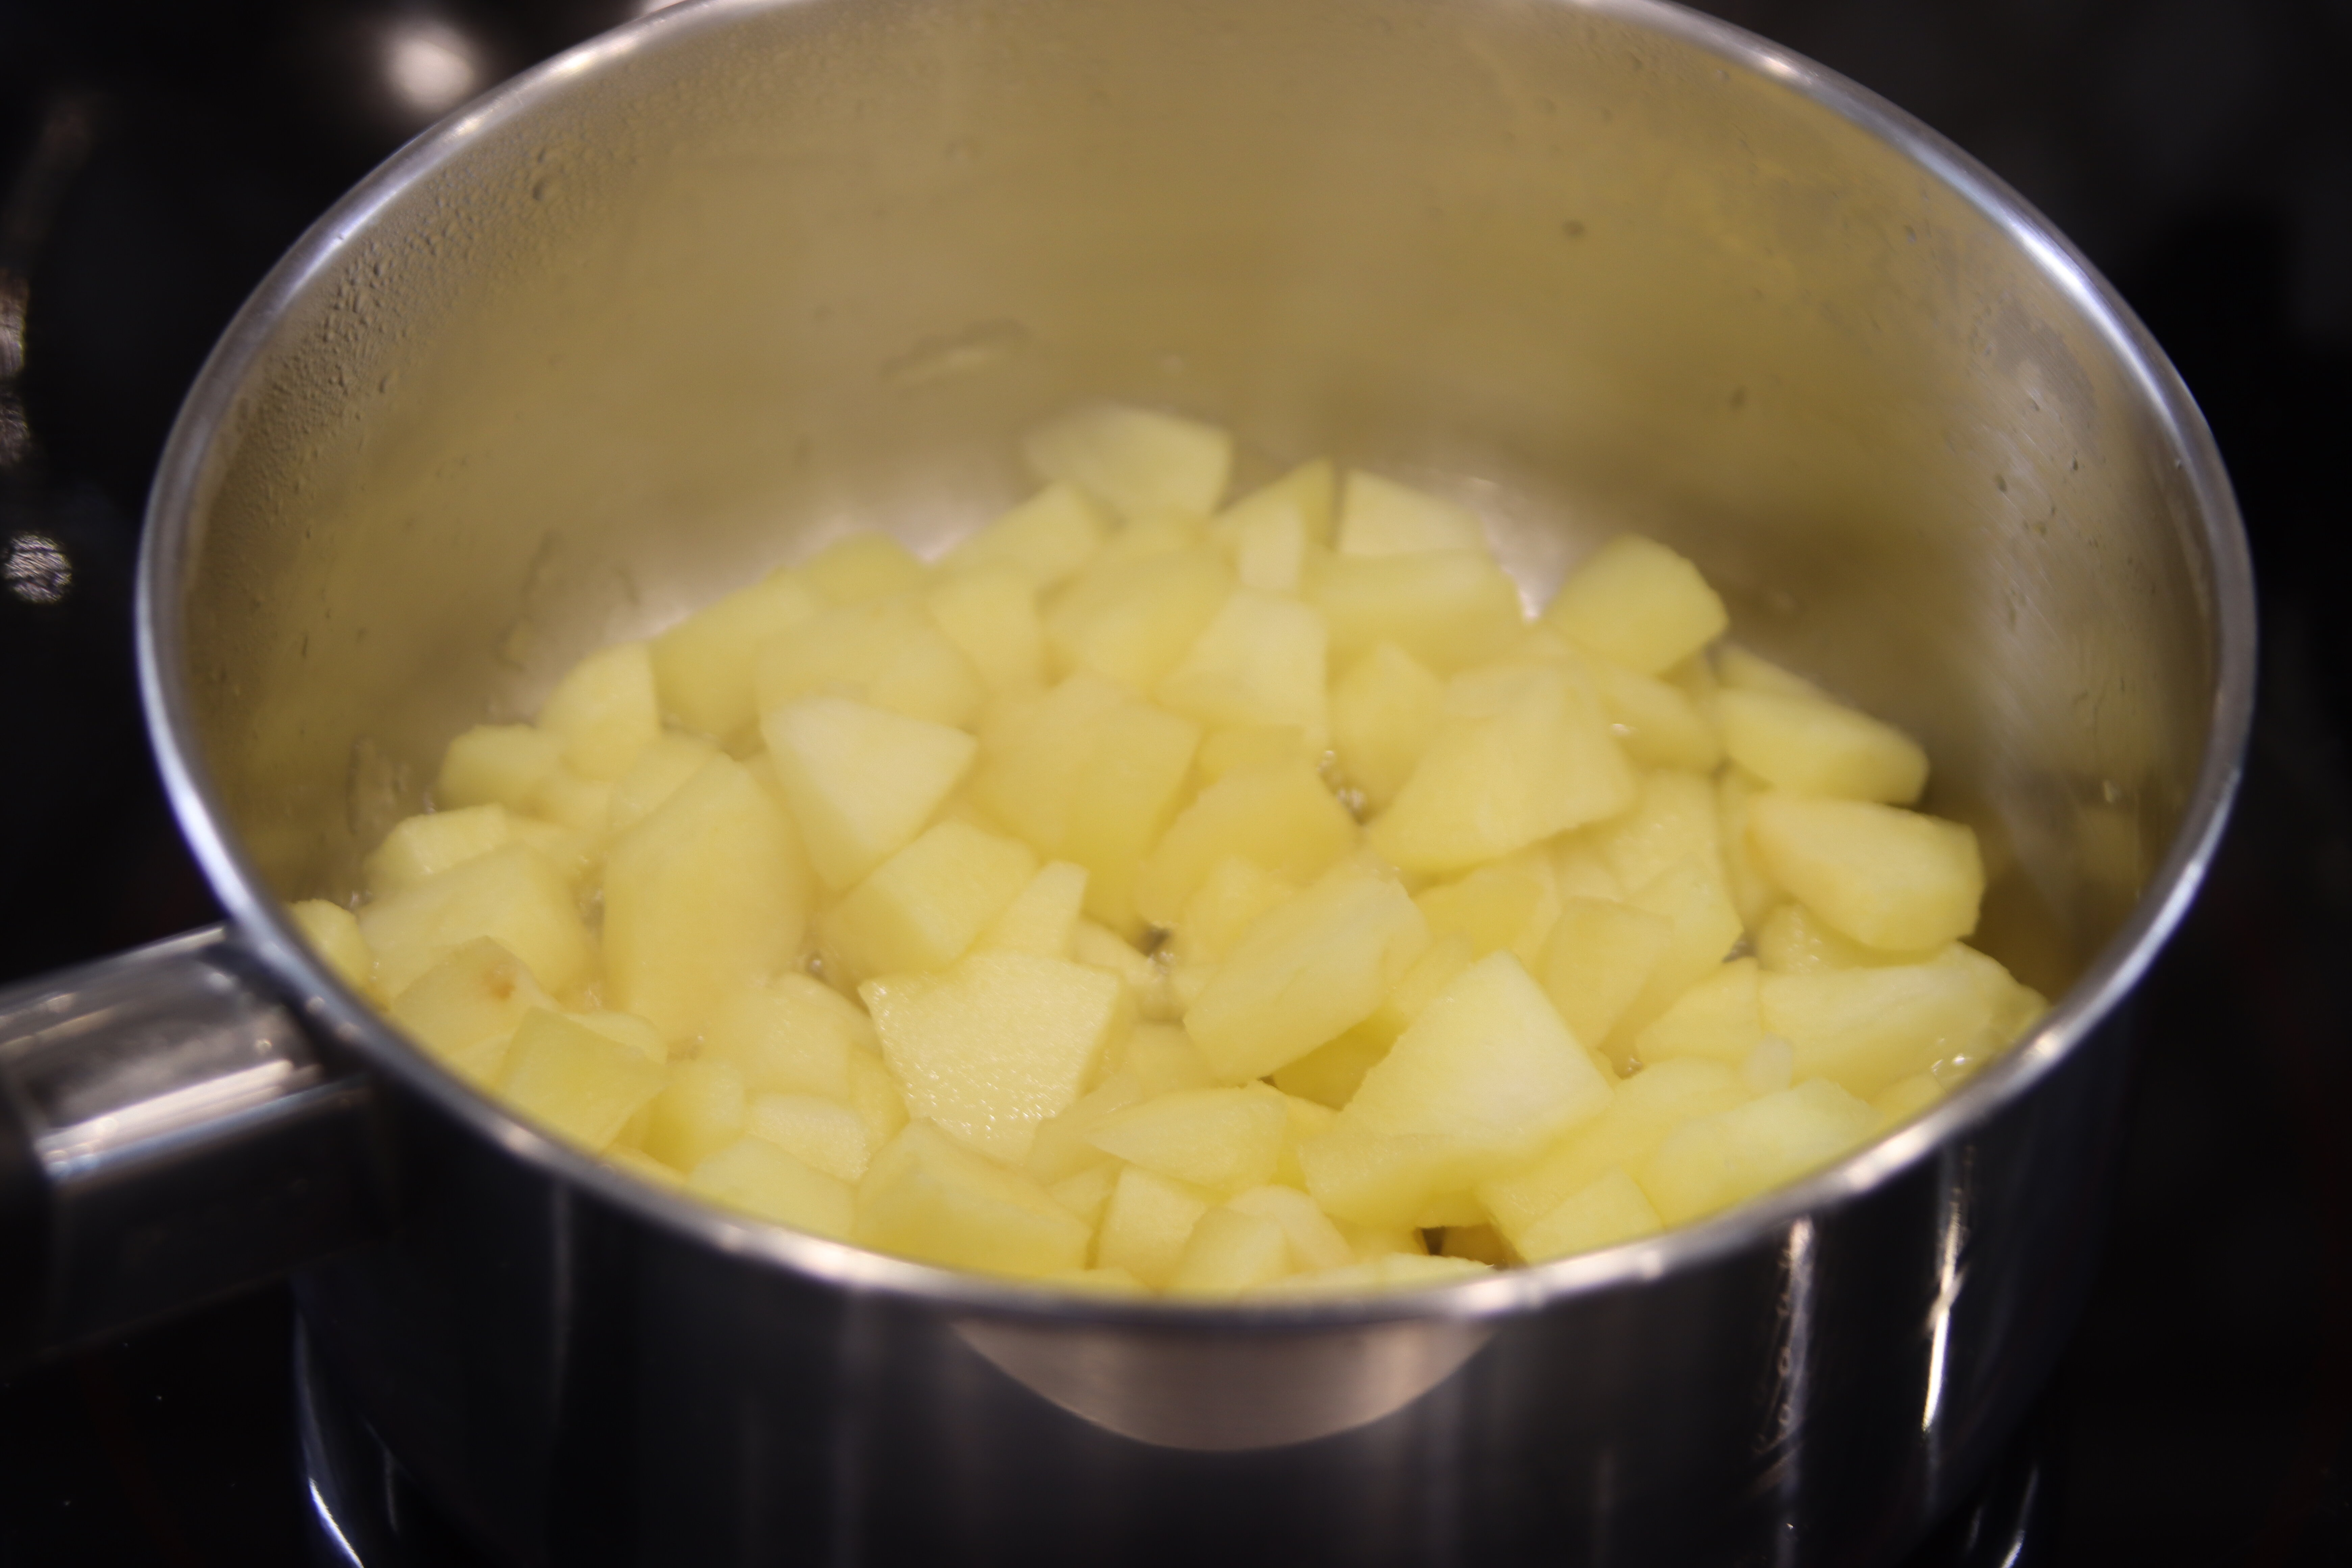
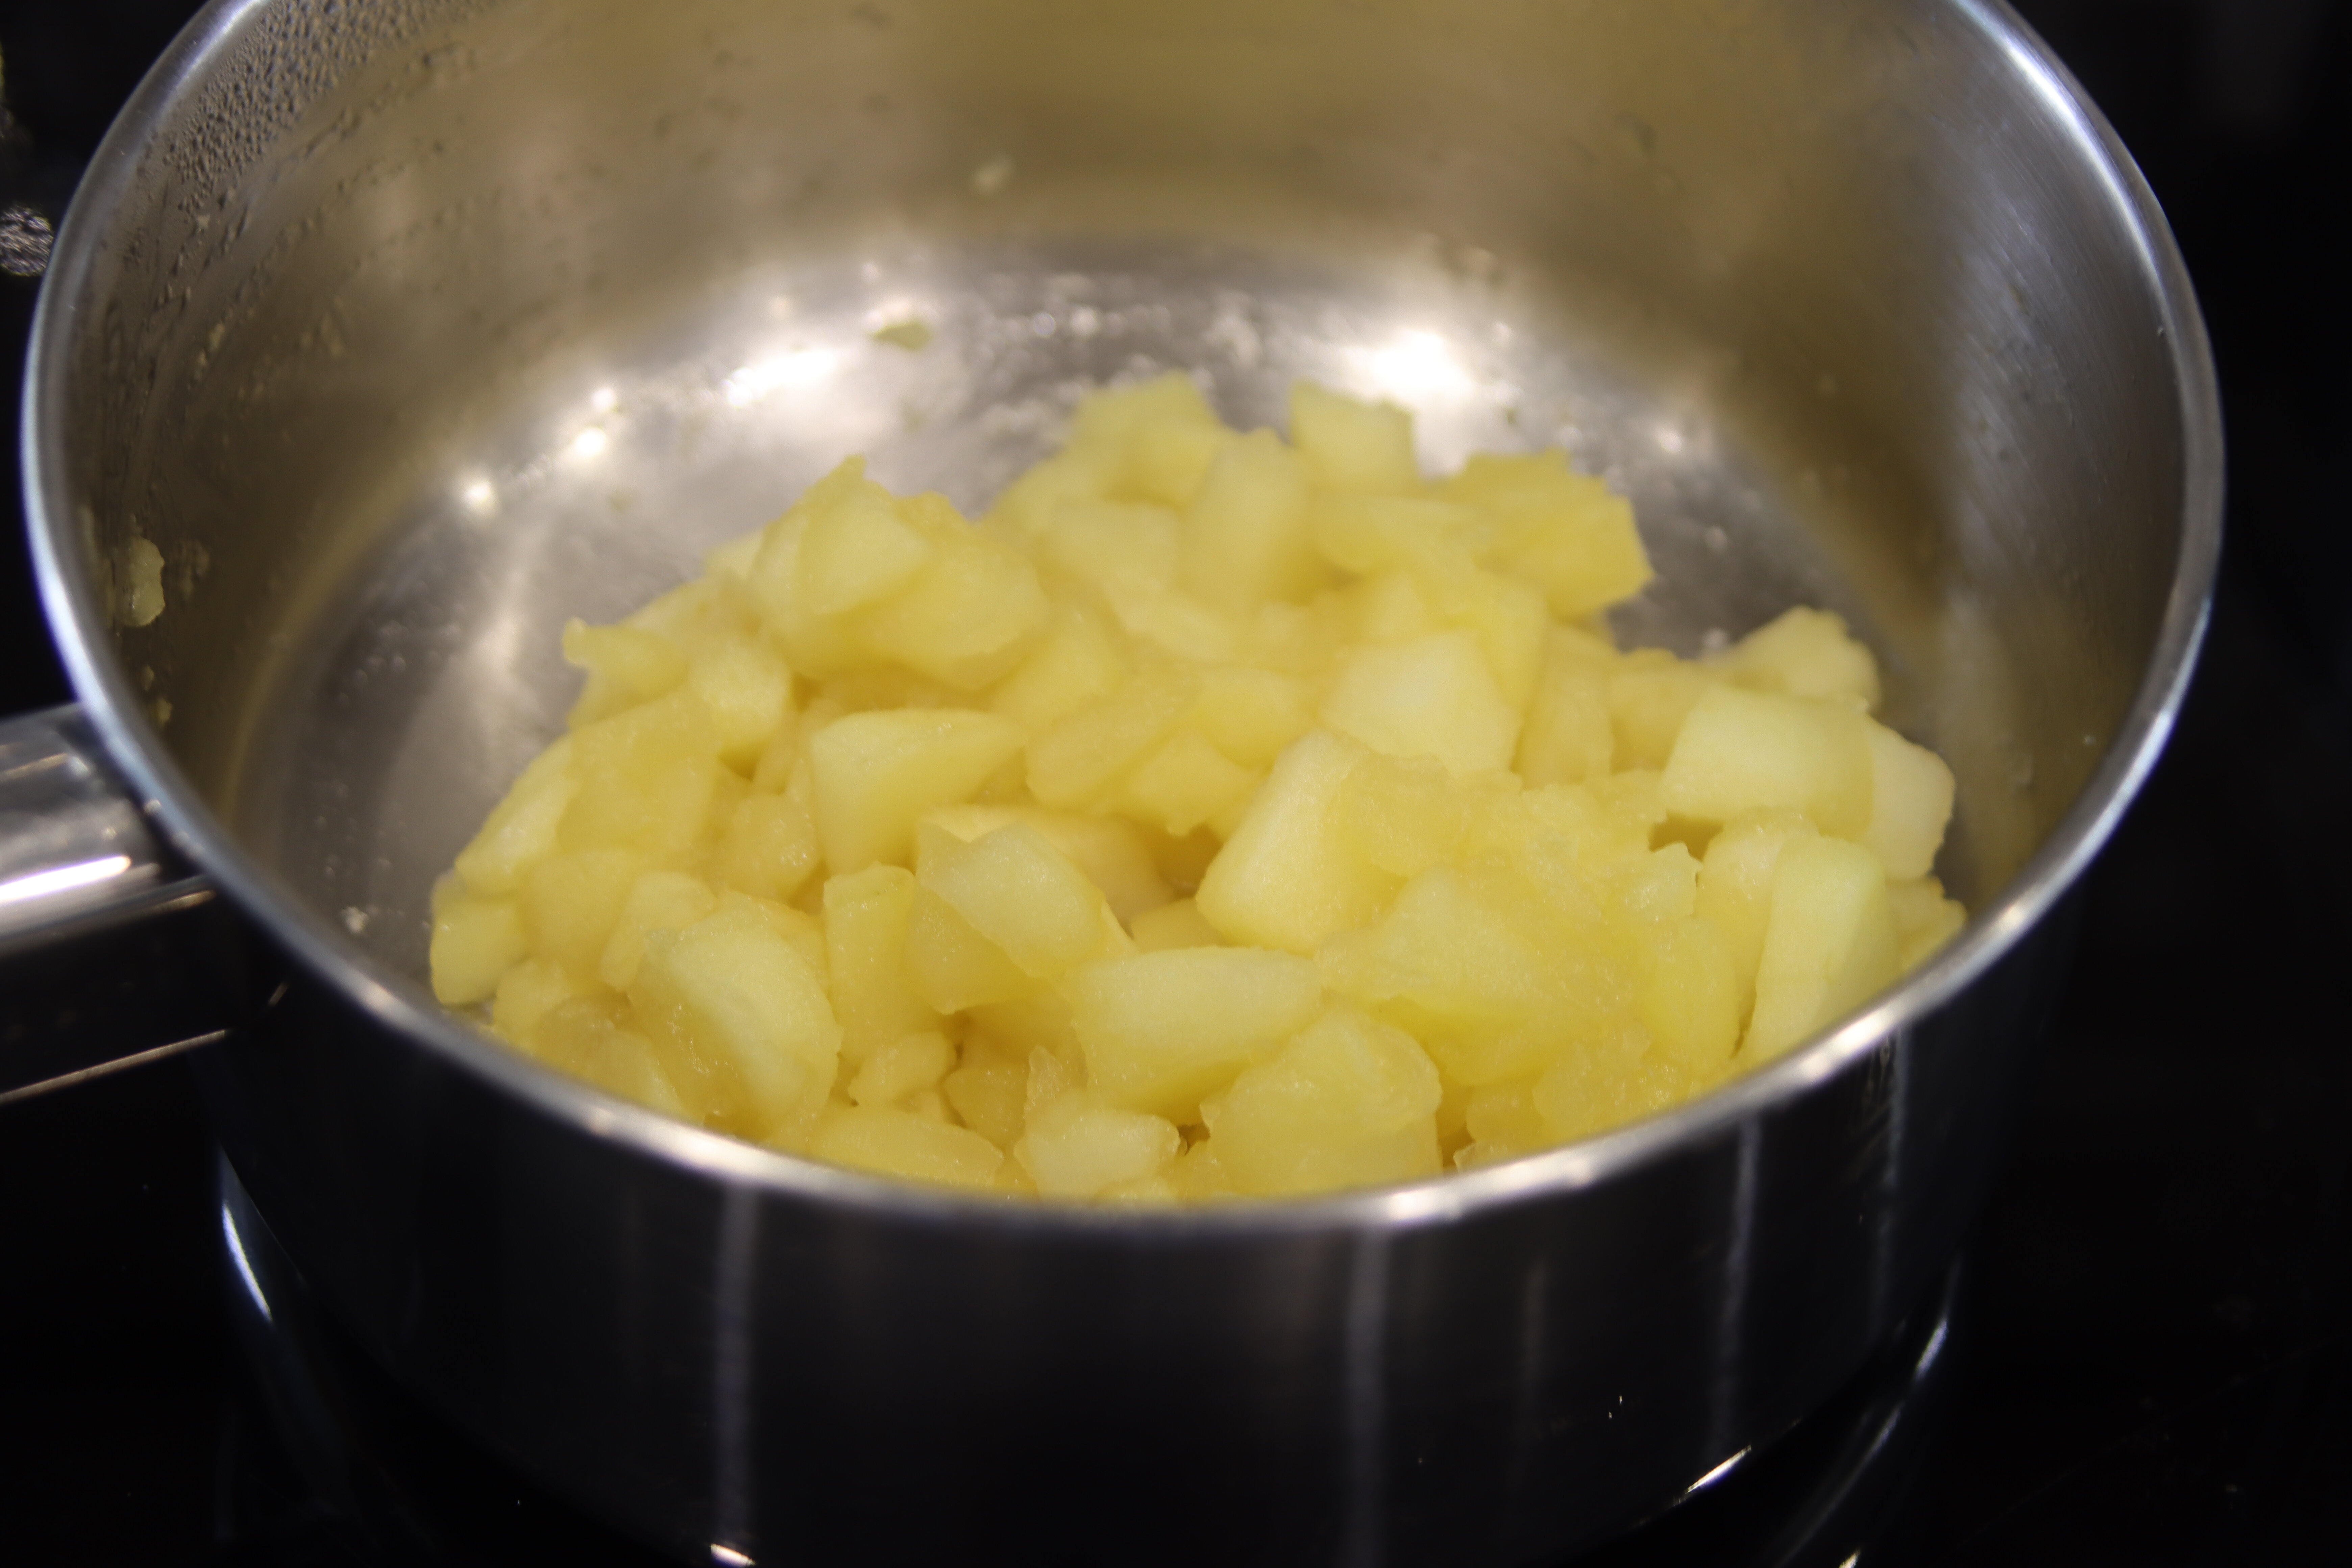
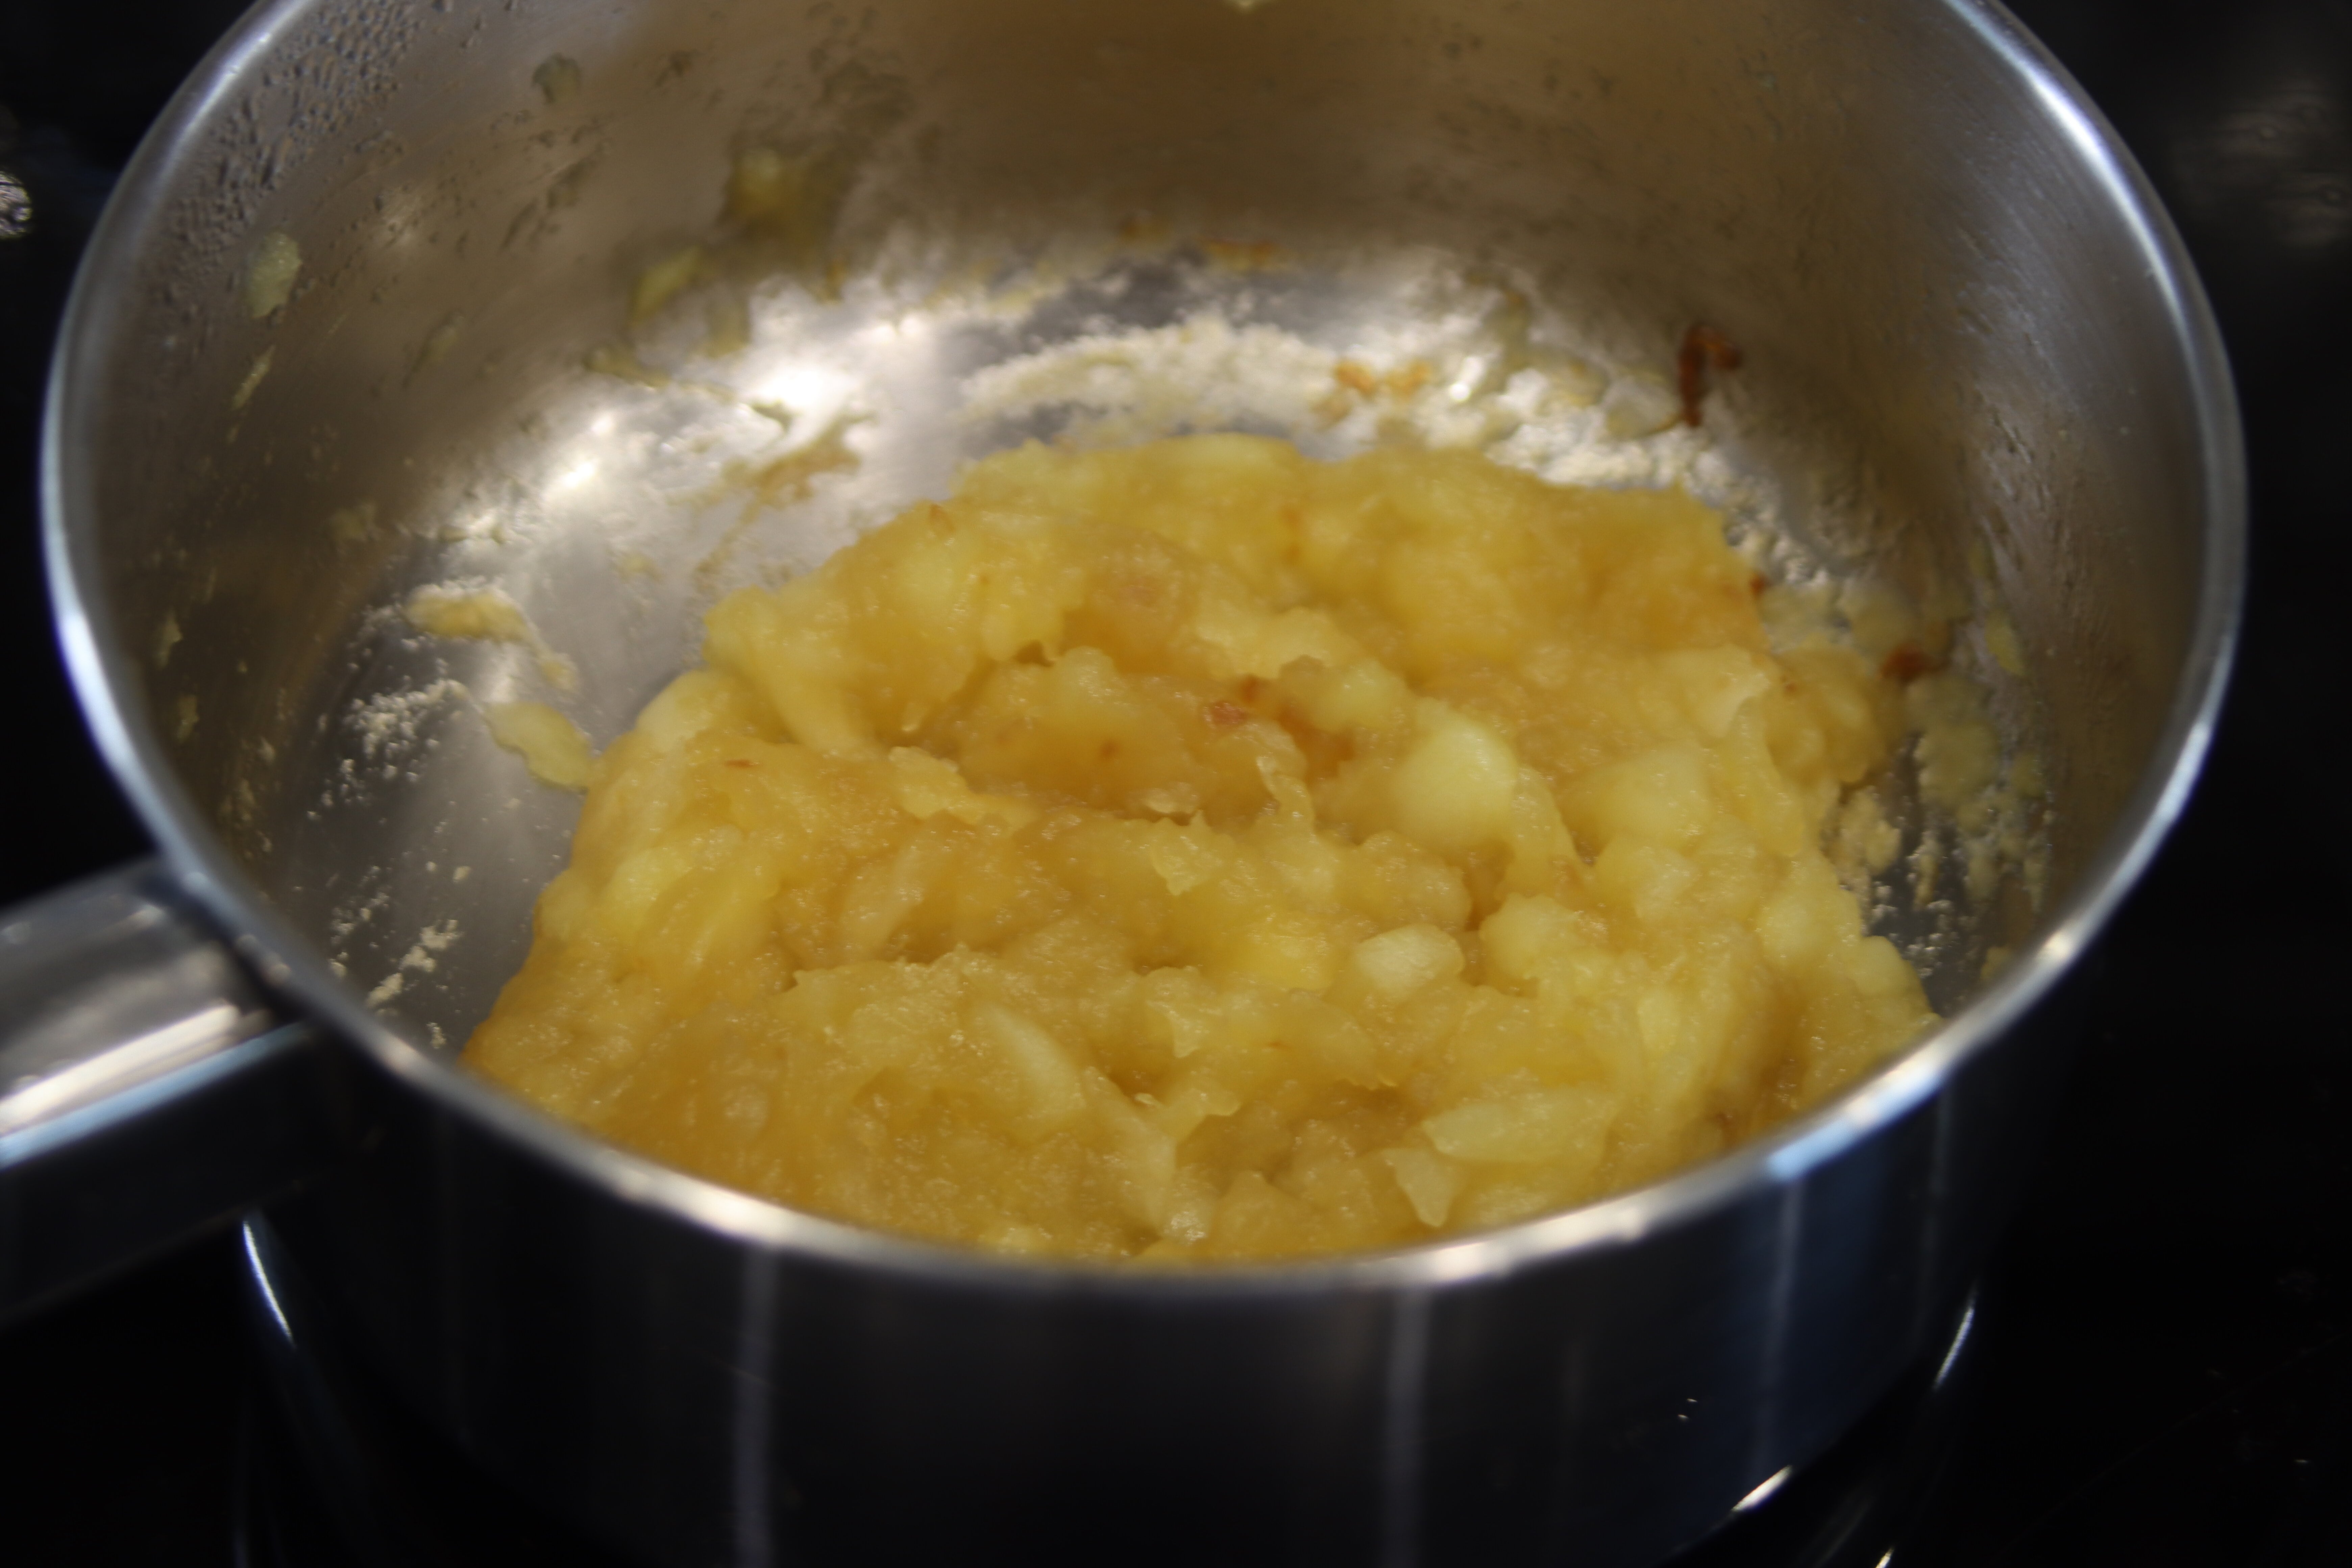

To do this, you reduce chopped apples with a splash of lemon juice and a spoonful of sugar. Sometimes, I even add in a splash of water to thin it out and make a more paste-like texture if it’s turning out quite thick and stringy (I’m not really sure how to explain this, you’ll just have to see for yourself and eyeball it until you get the apple sauce/paste consistency). This normally takes awhile to cook on the stove since you should be sure to keep it on a low temperature as to not evaporate all of the water content from the apples – you’ll need this liquid to turn solid apples into mush!
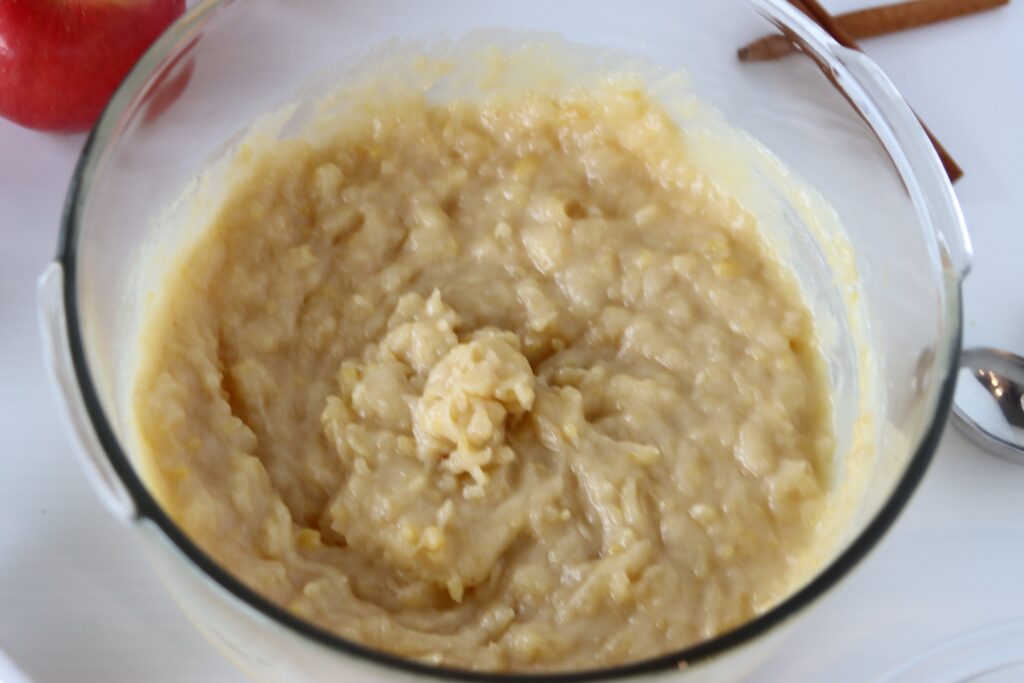
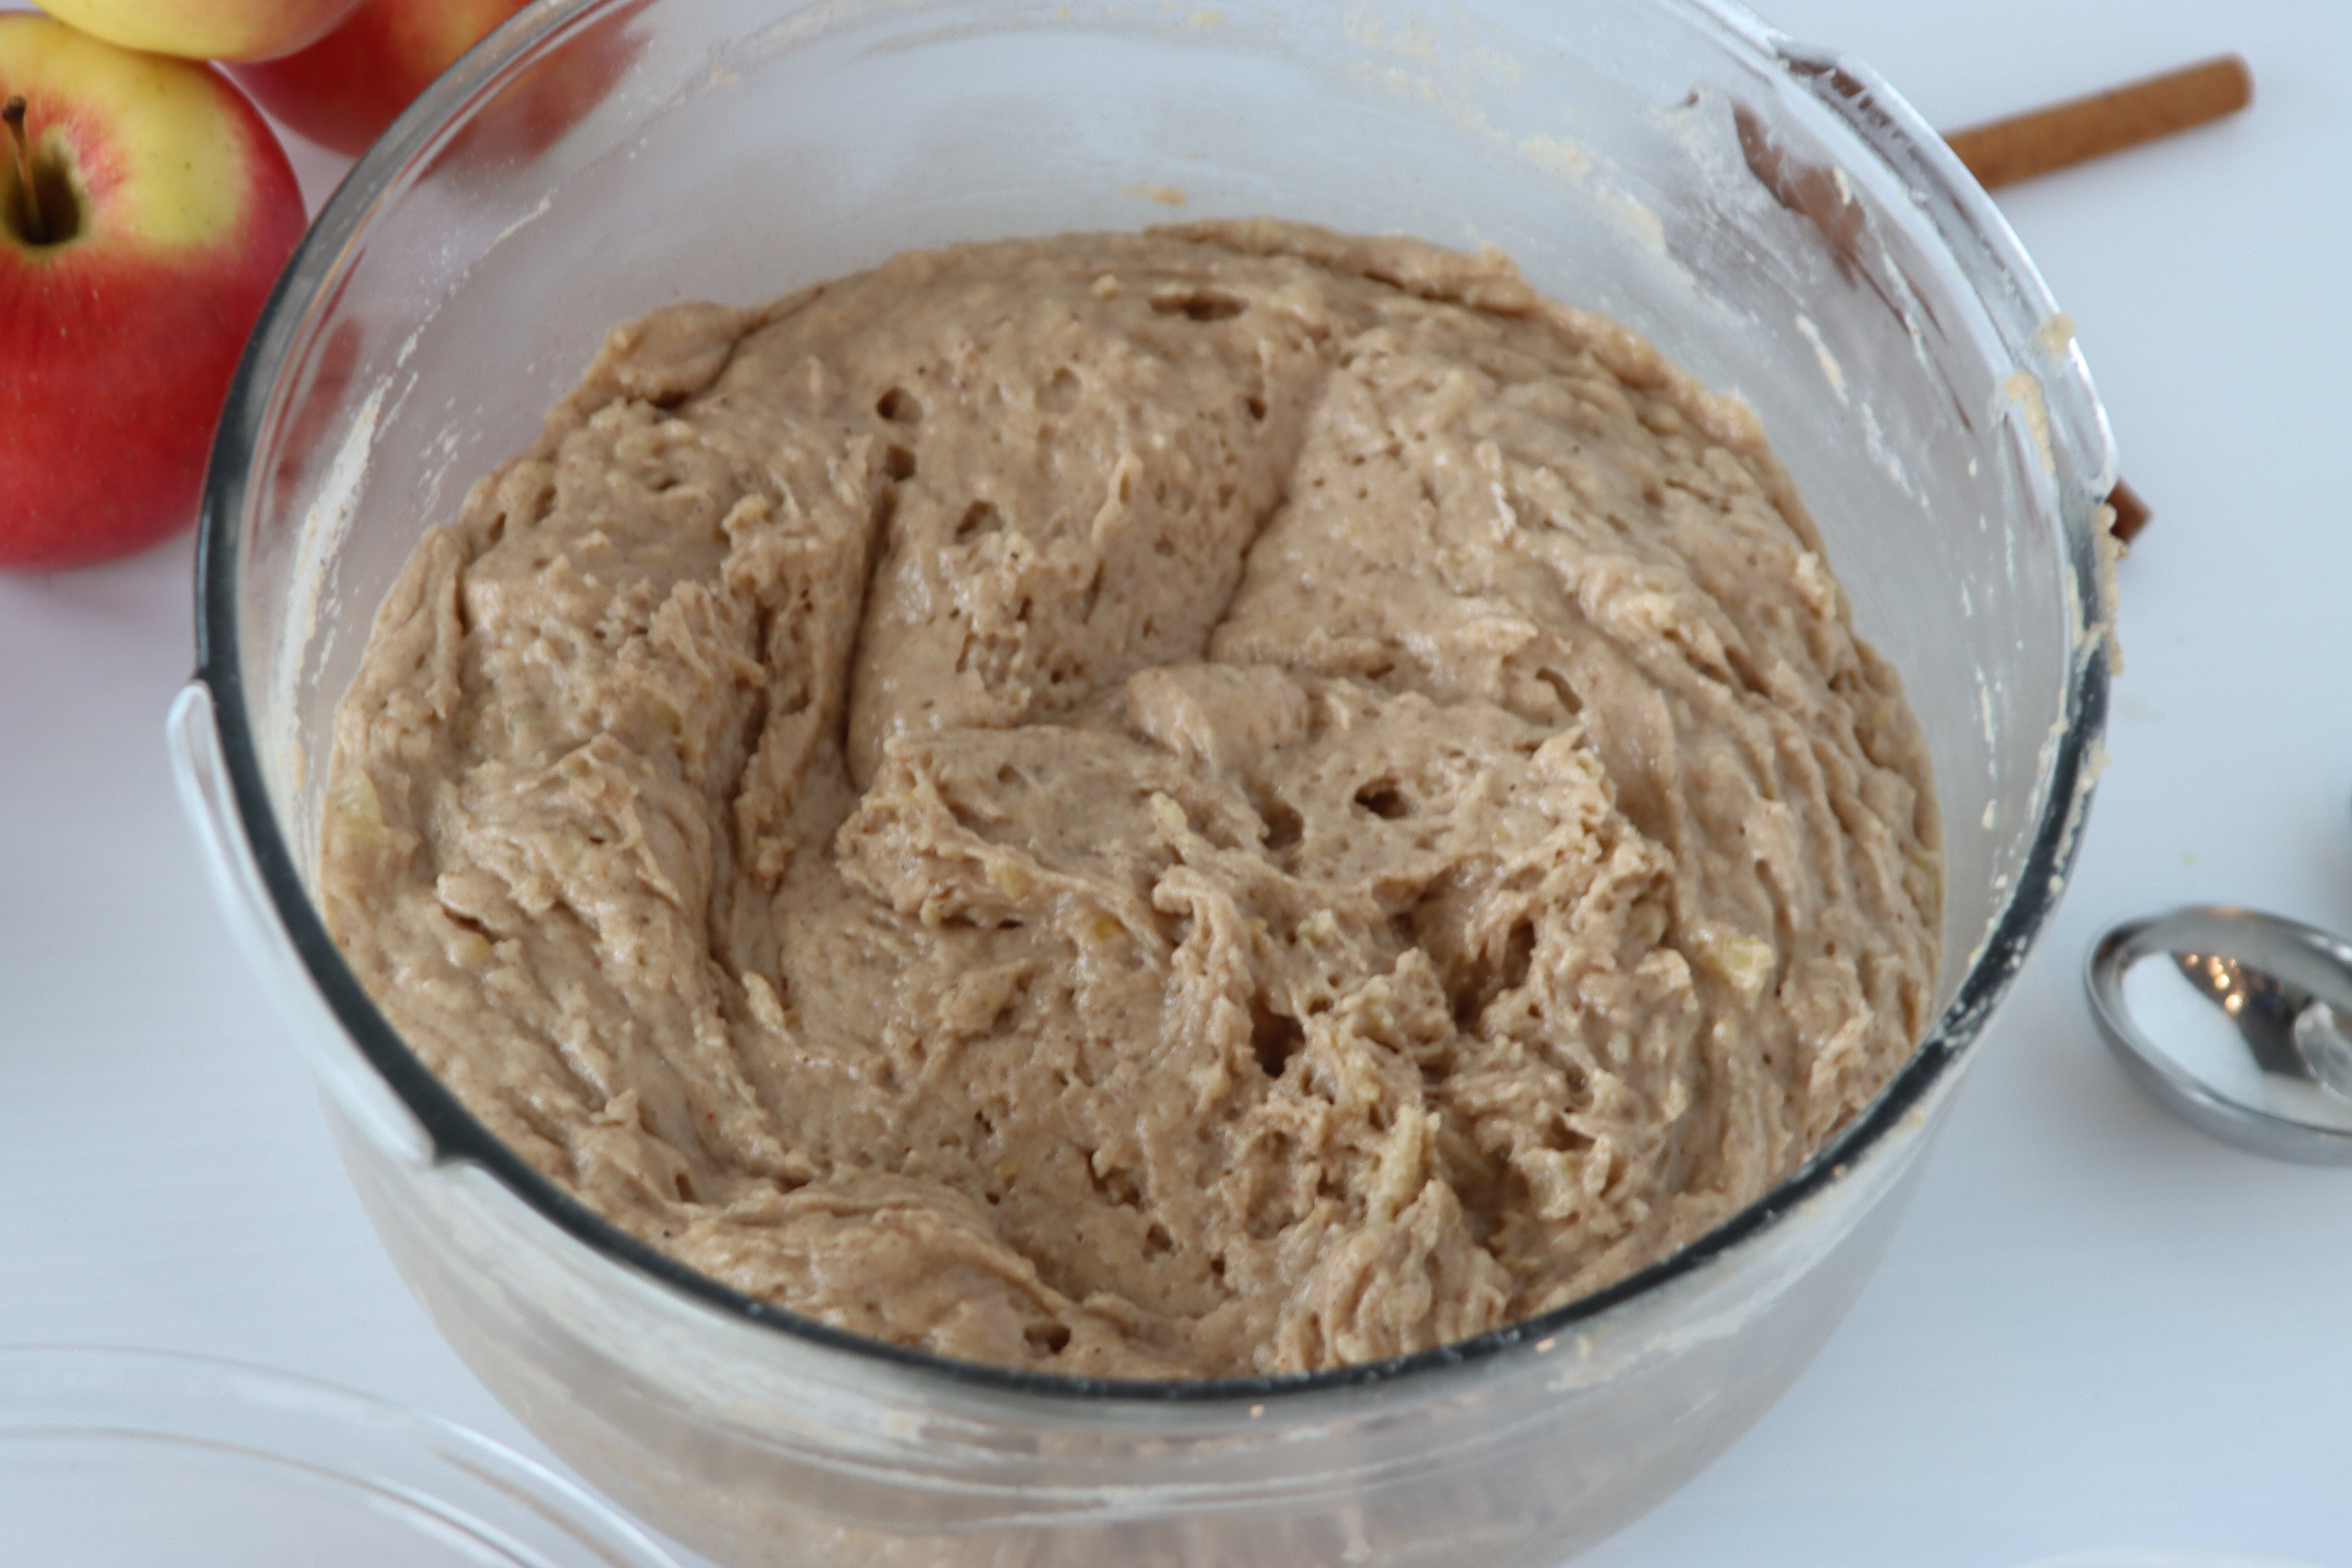
Once this mush is finished, let it cool a bit, then stir it into your fat and sugar base, which by now should have a consistency similar to a finished batter.
Dry & Wet Ingredients:
After this stage, you continue by following the steps of a standard creaming method: alternating the dry and wet ingredients.
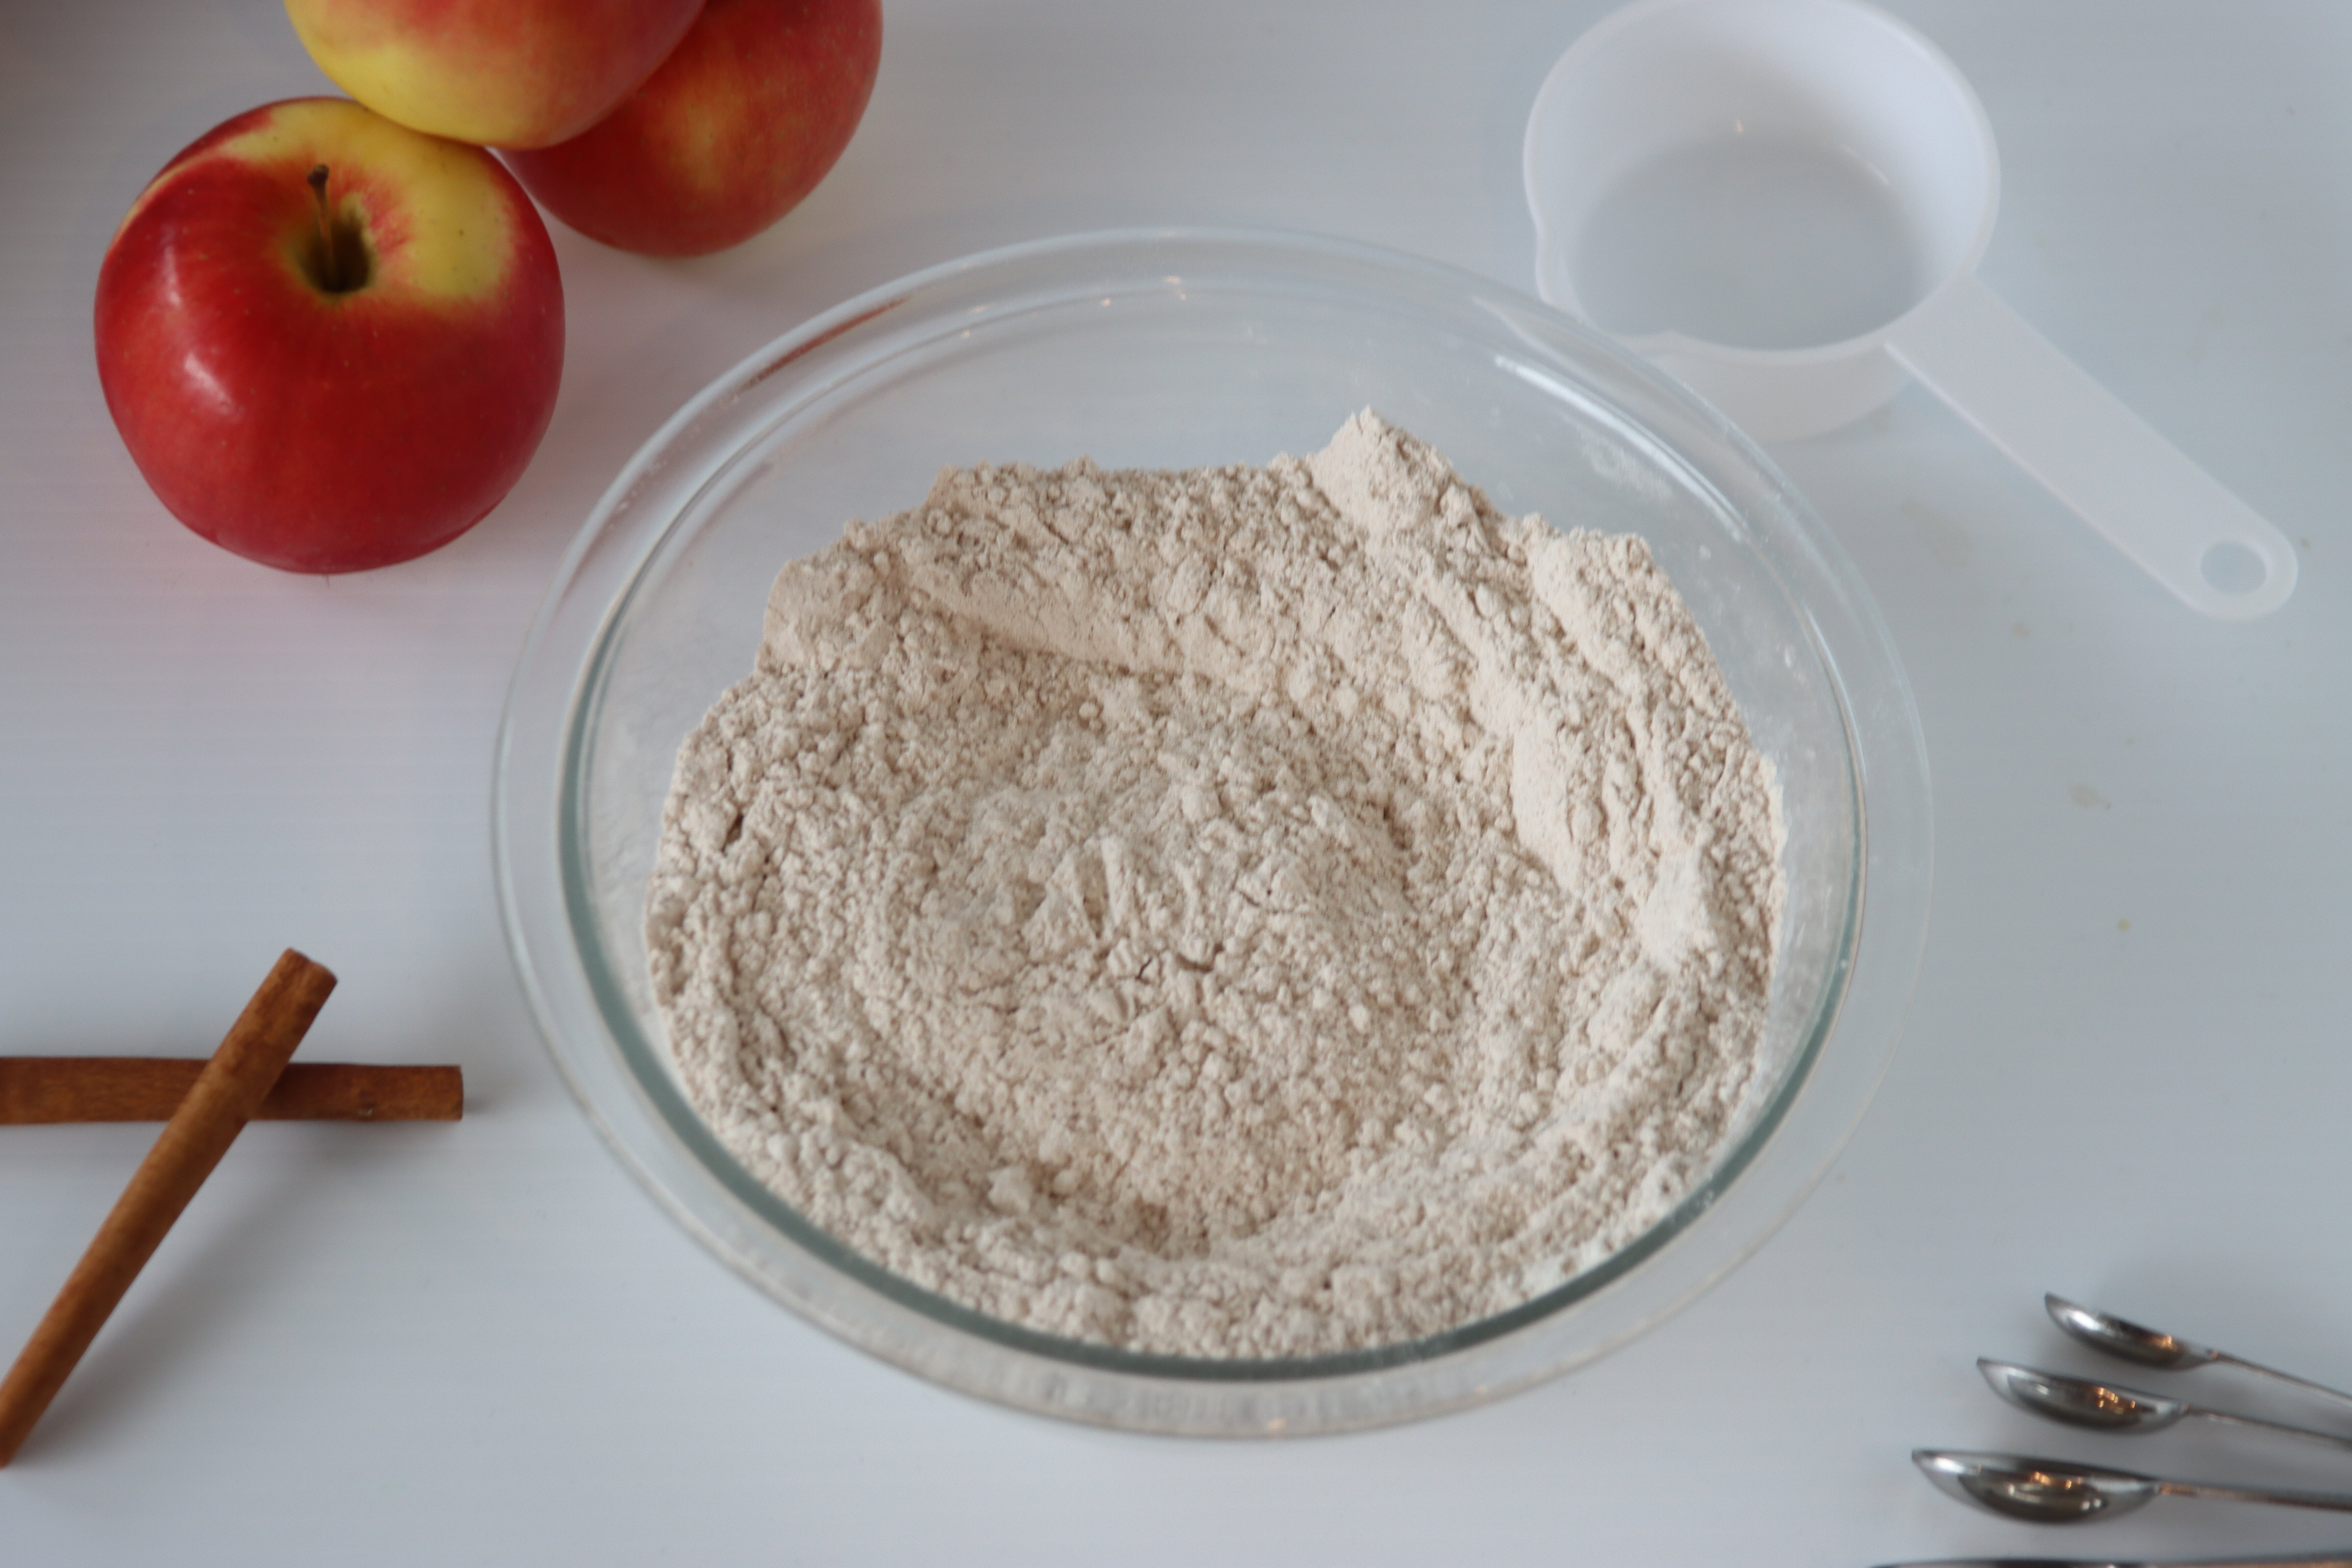
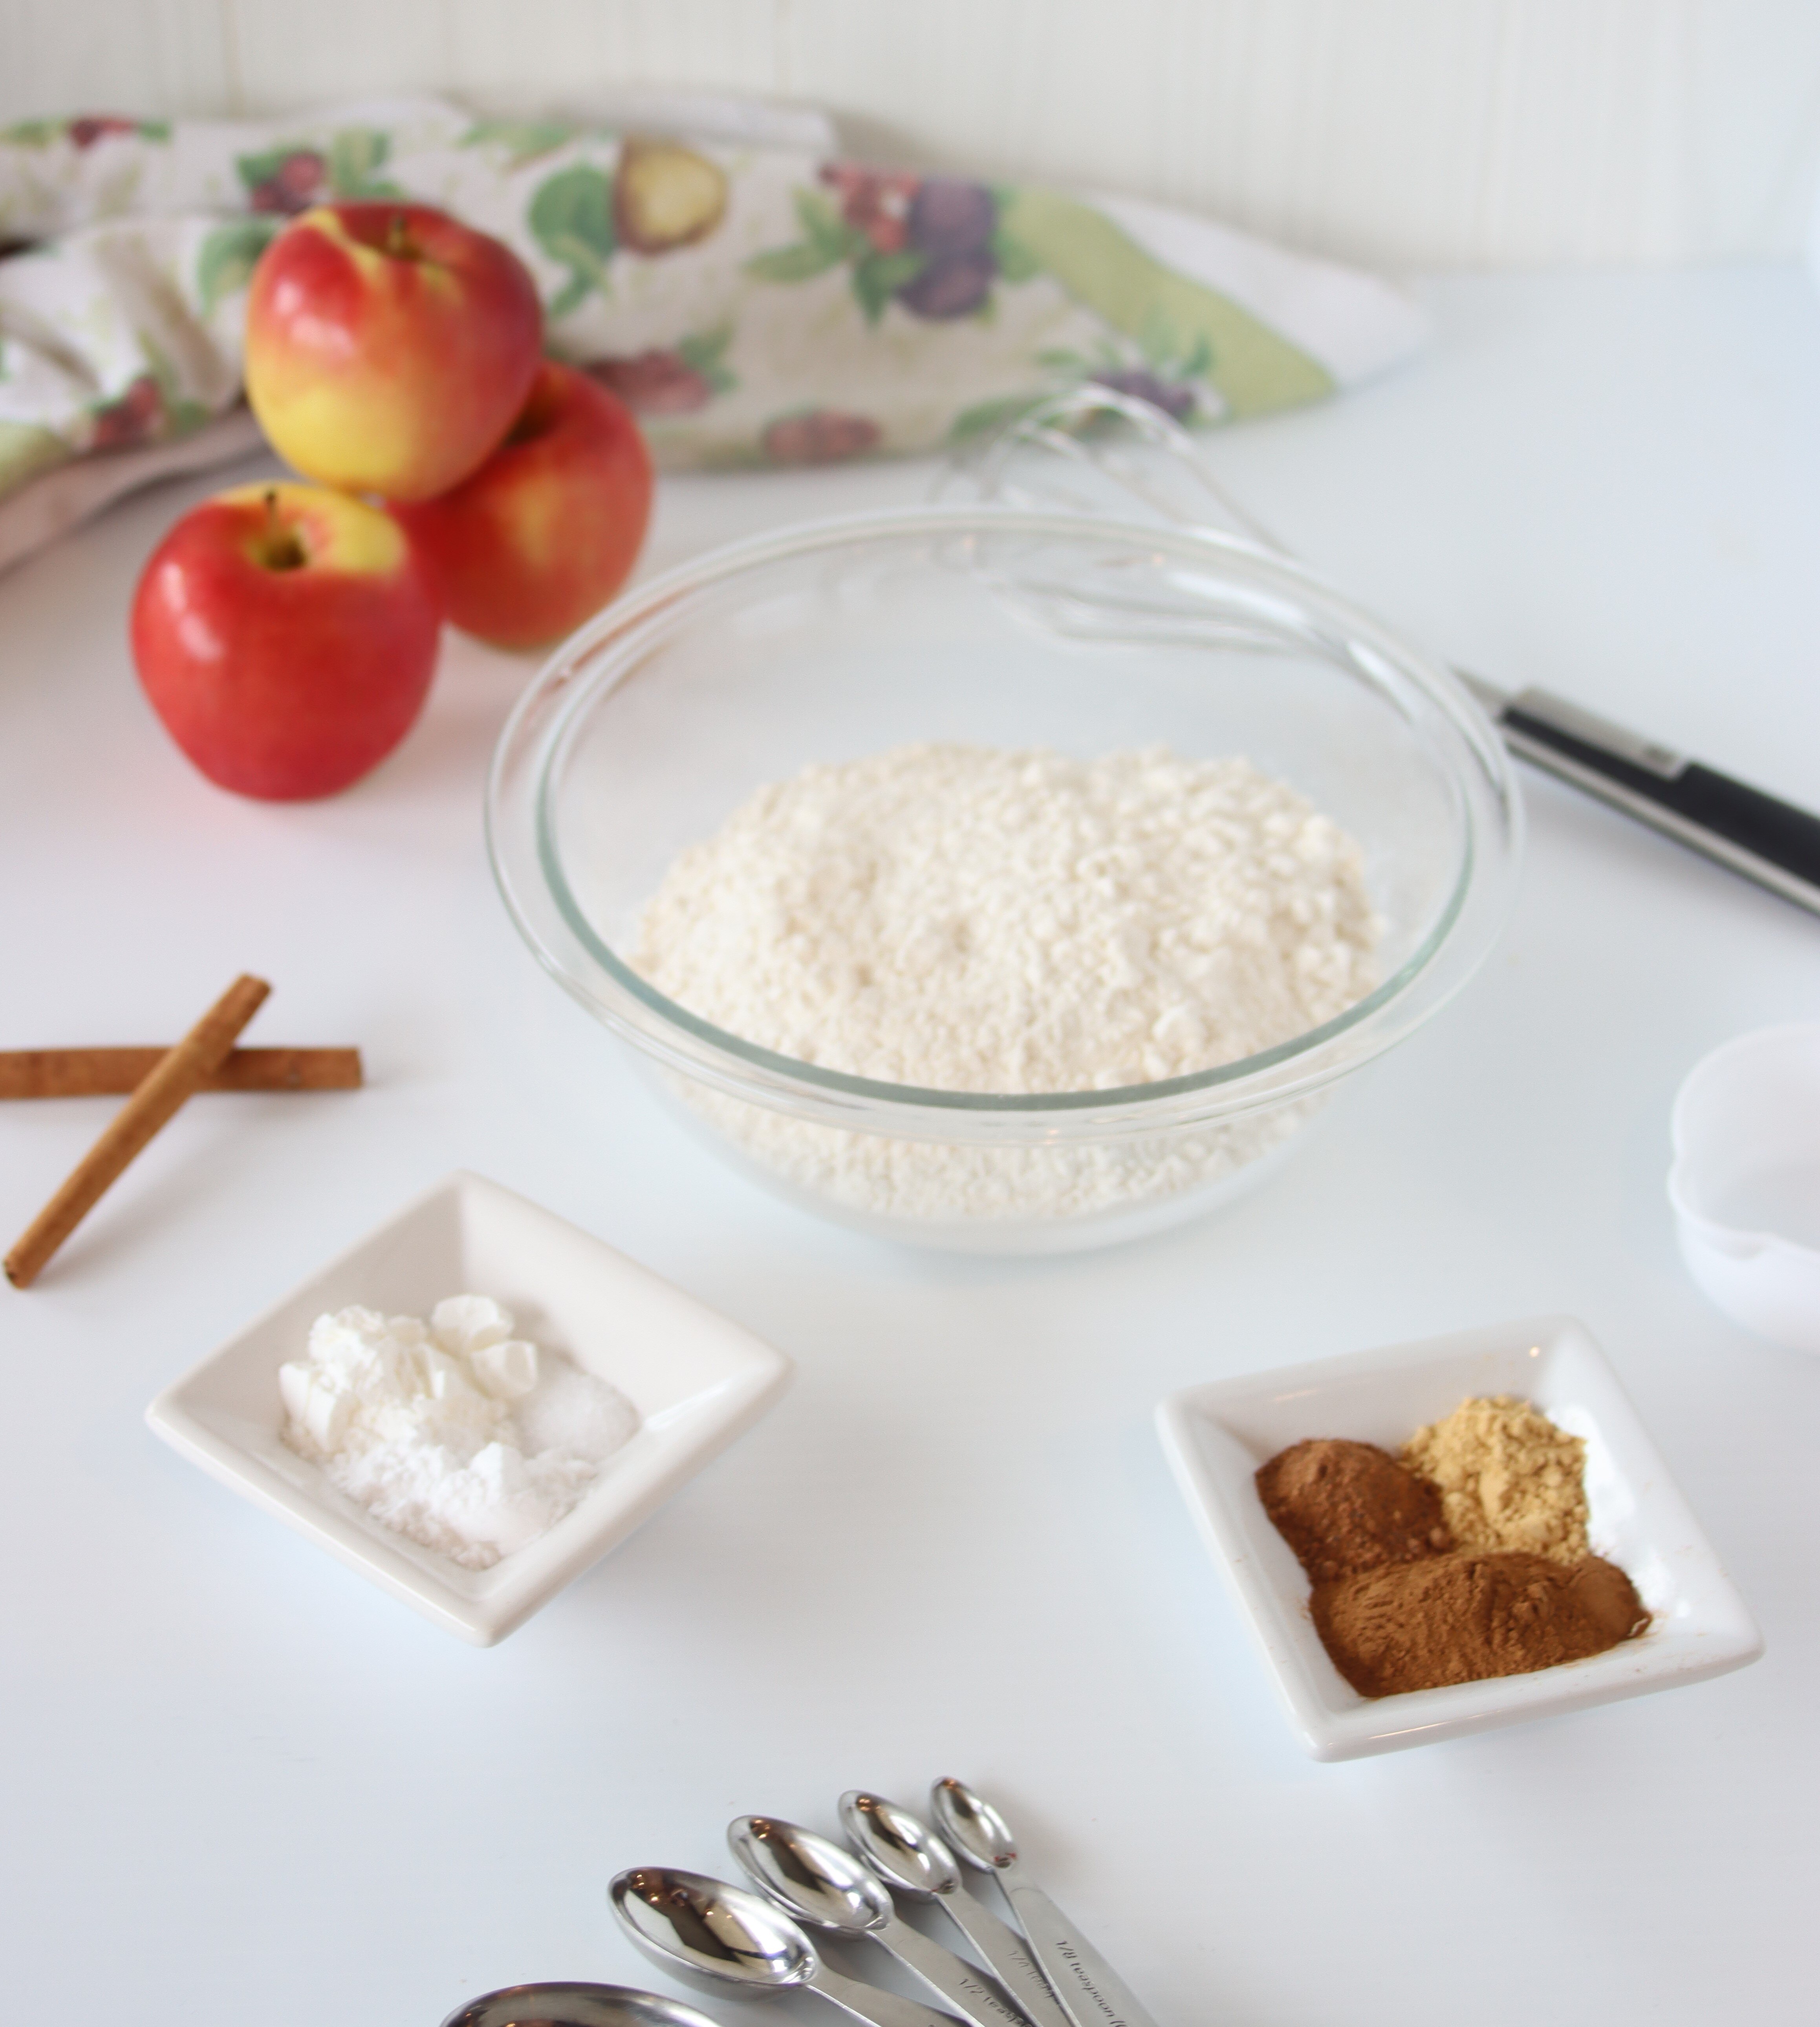
For your dry ingredients, you’ll whisk together your flour (the structure of the cake), baking powder and baking soda (more leavening agents), and all of your spices (cinnamon, nutmeg, ginger, and a pinch of salt, but feel free to add in whatever spices you’d like!).

For your wet ingredients, you’ll stir together your apple cider (source #2 of apple flavour!) and vanilla extract (the onion of the baking world). Start by mixing in half of the dry ingredients, thin it out with all of the wet ingredients, then mix in the last half of dry ingredients.
You may be thinking, finally, this recipe is over, but nope, not quite! We still have the egg white we were talking about earlier and the mysterious apple source #3!
The Many Stages to Stiff Peaks:
As stated above, you’ll be using an electric mixer (I use my hand mixer since my stand mixer is way too big for only 1 little egg white) to beat the egg white to stiff peaks, but before you reach that stage, you’ll see the egg white go through different levels of air incorporation first.
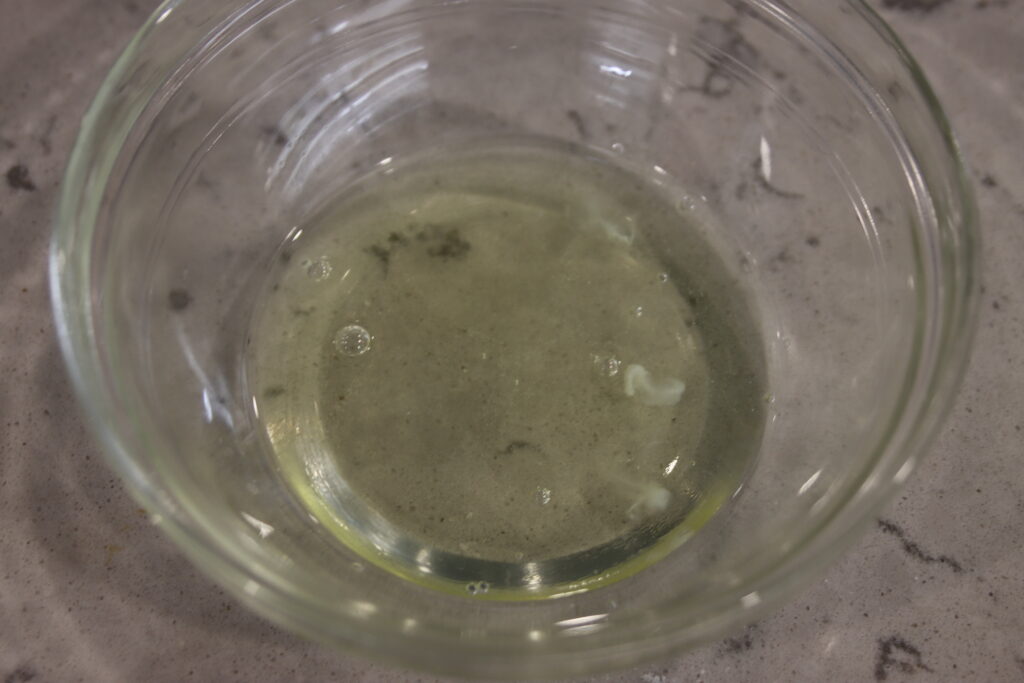
When you start, you’ll see bubbles of air being mixed in, and then after a very short while, you’ll reach the foam stage. This is where the surface of the egg white looks so bubbly that it has a bit of white foam on top. If you were making meringue, this is when you’d add in the cream of tartar, turn up the speed to the highest setting, and start slowly adding in sugar. Since we’re not making meringue, you’ll just keep treading along the path to stiff peaks without adding any other ingredients.
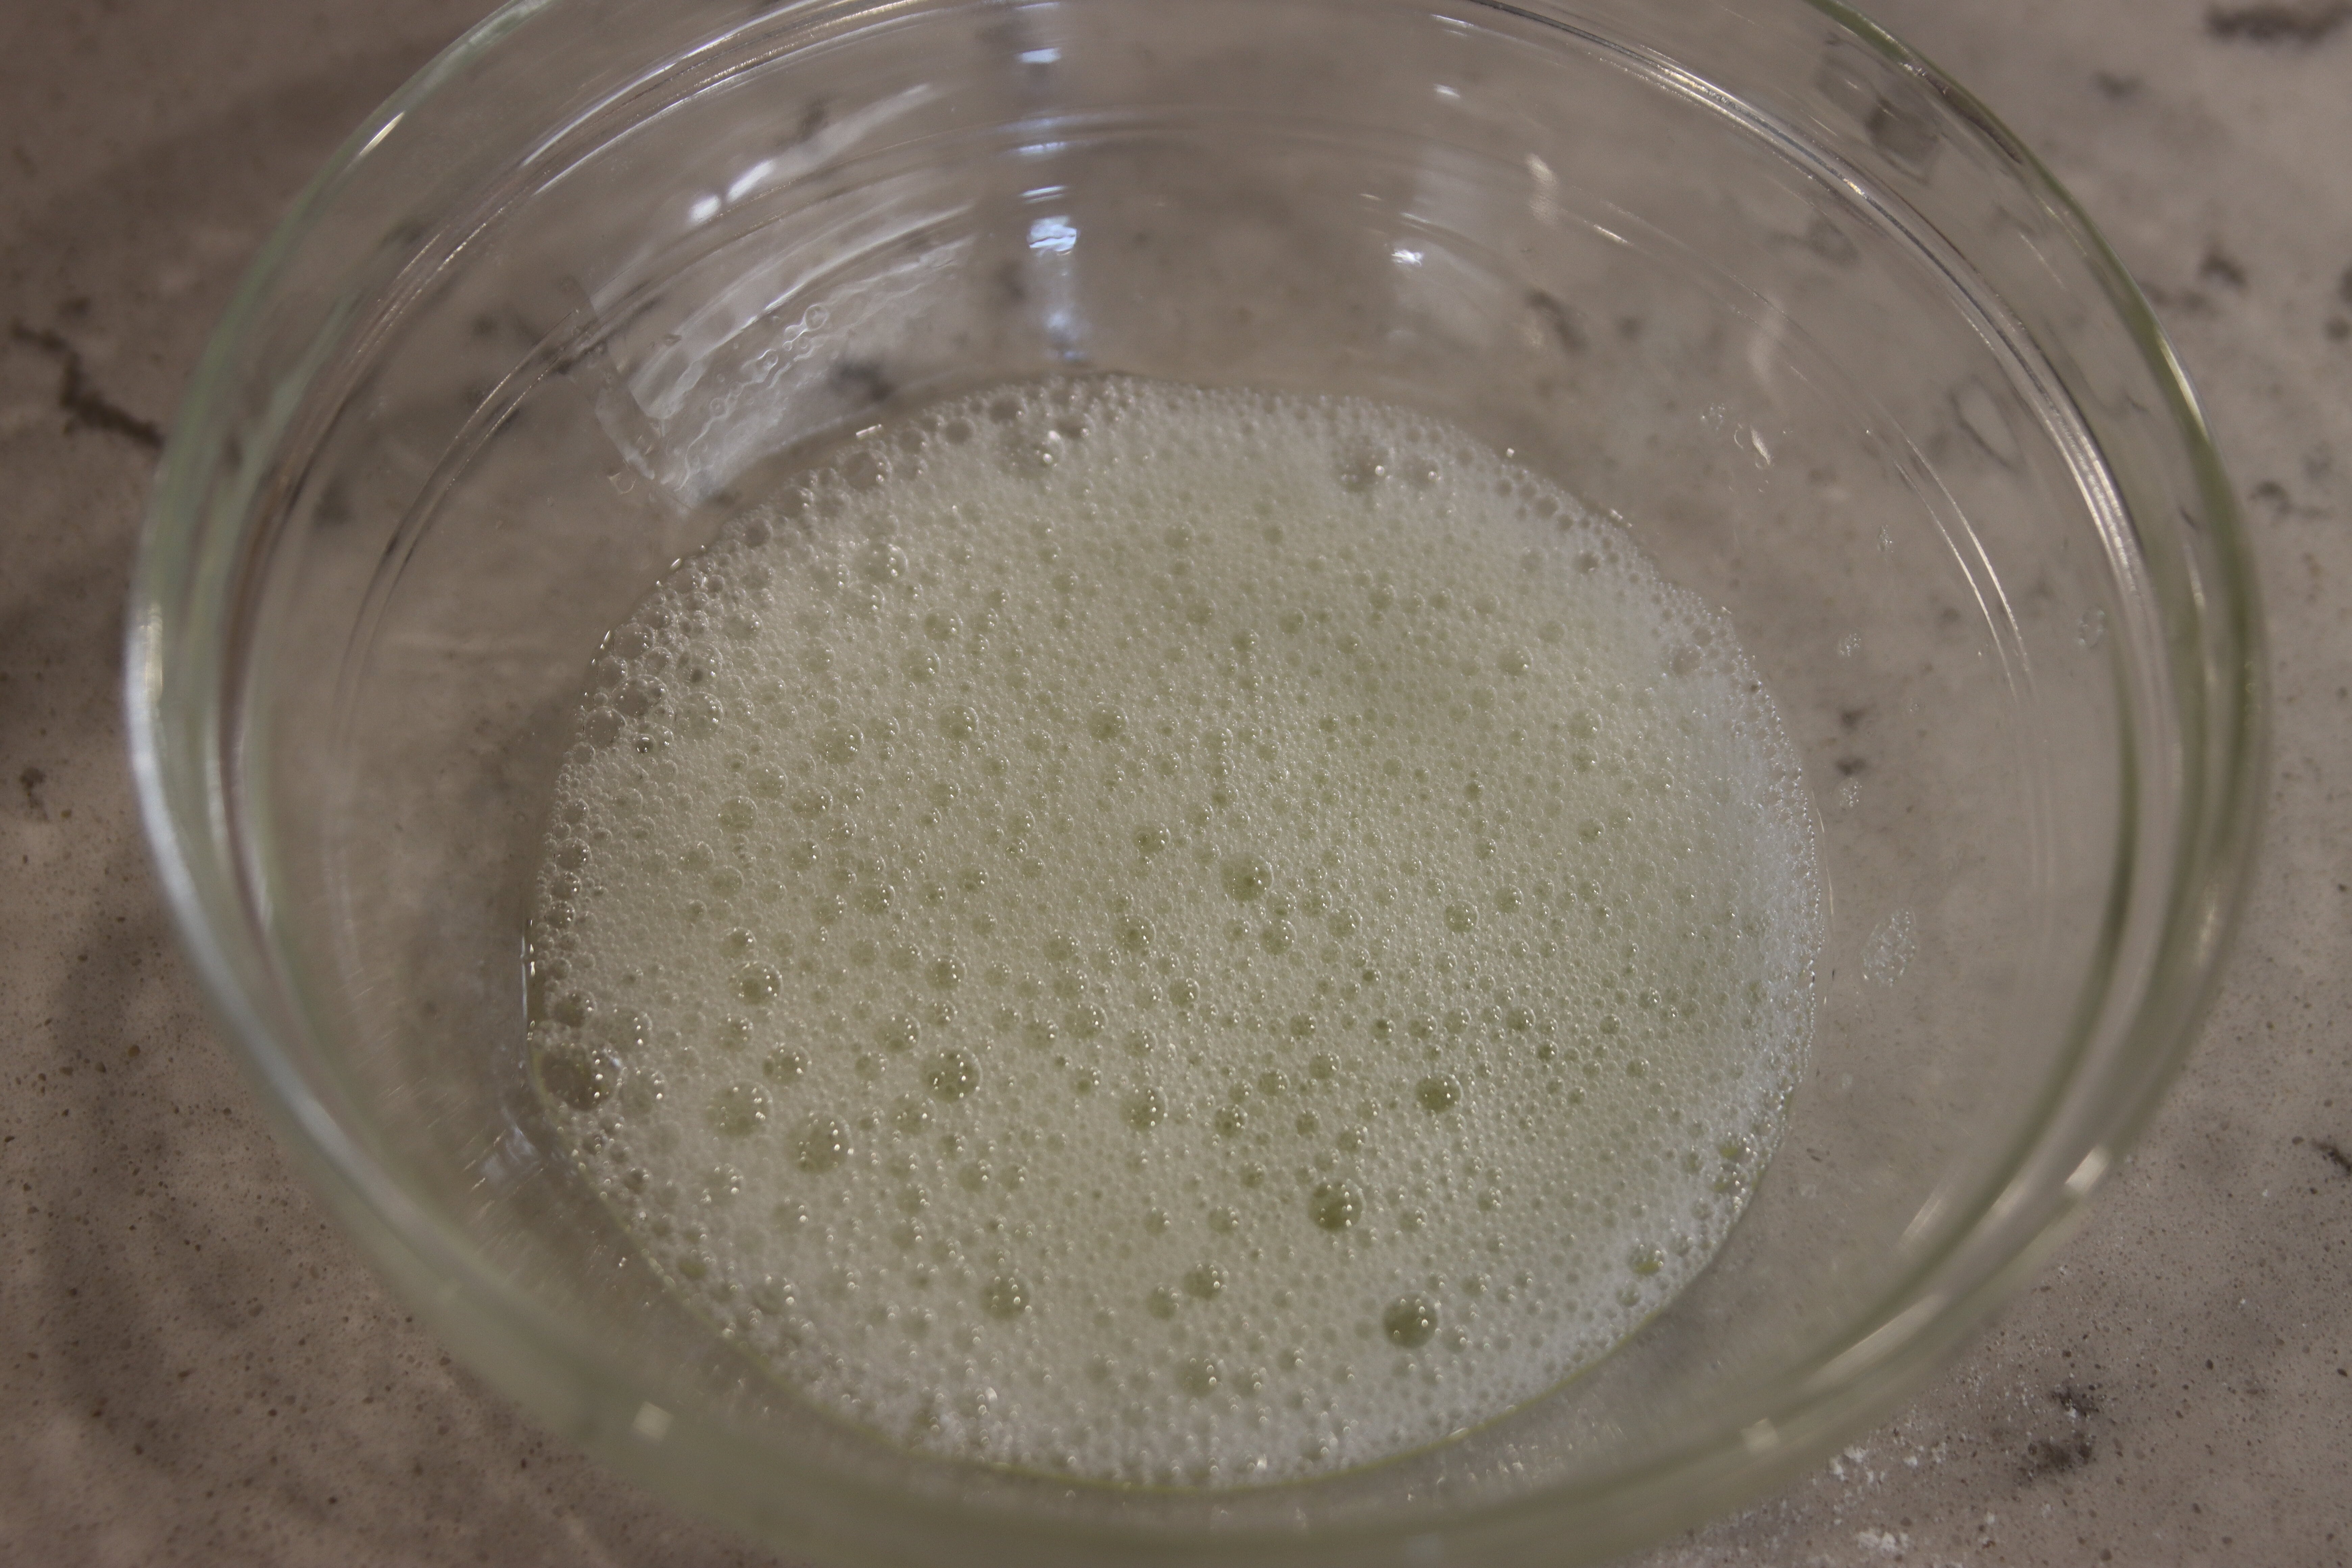
After the foam stage, with the mixer still on high, you’ll reach soft peaks. The entirety of the egg white is white foam by now, and when you stop your mixer and lift the beaters out of the bowl, you’ll see a peak that falls and flops back down. This is getting close to what we want, but you’ll still need to beat it for a few more minutes to reach stiff peaks.
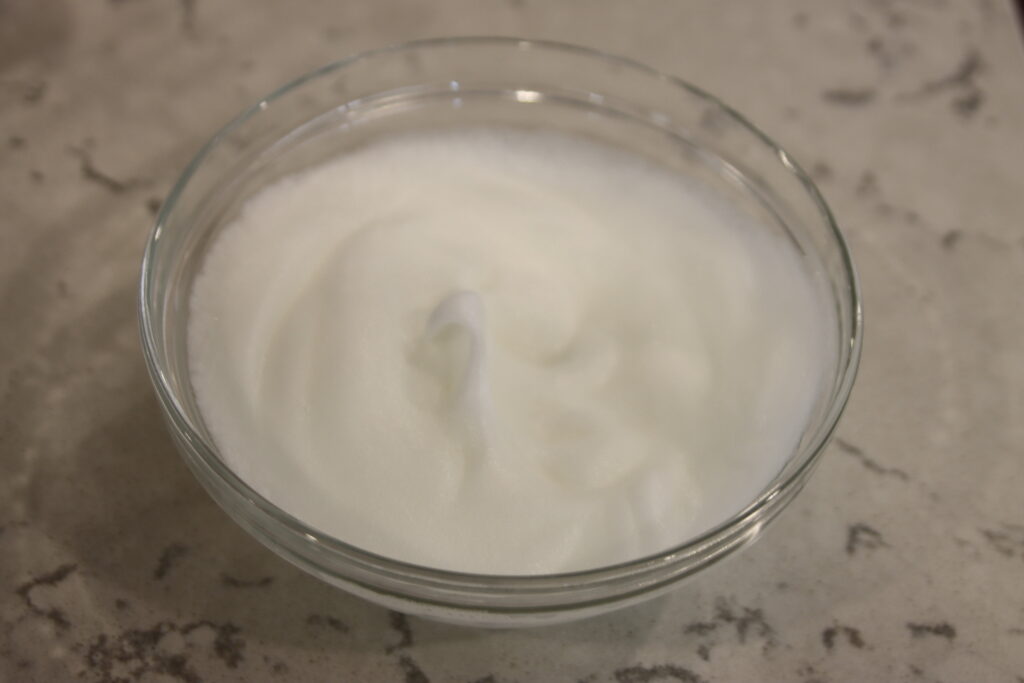
The way to tell if you’ve reached stiff peaks is if when you do the beater test (stop the mixer and lift the beaters out of the bowl), the peak that forms on the tip of the beaters (you’ll also see another peak in the bowl from where you lifted the beaters from) is completely stiff and does not flop back down into the bowl or fold and fall at all.
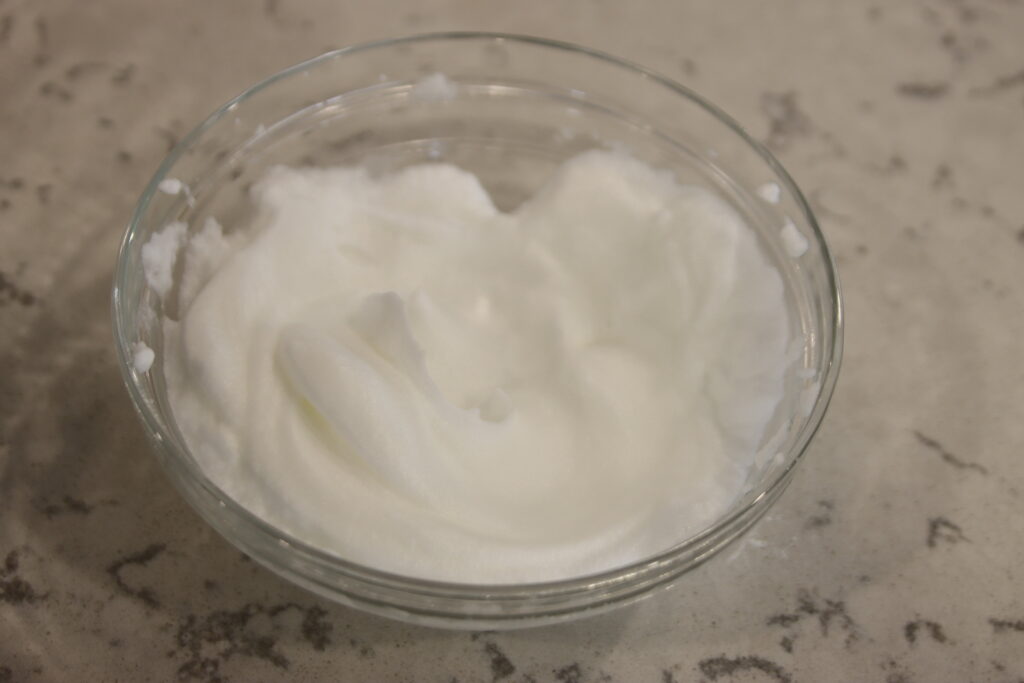
The other way you can tell if you’ve reached stiff peaks is to flip the bowl upside down. If the egg white falls out of the bowl, you’re not there yet and now you’ve made a mess on the floor or counter. It is quite risky, but if the egg white stays exactly in its place and defies gravity like a DQ Blizzard, it’s reached stiff peaks.
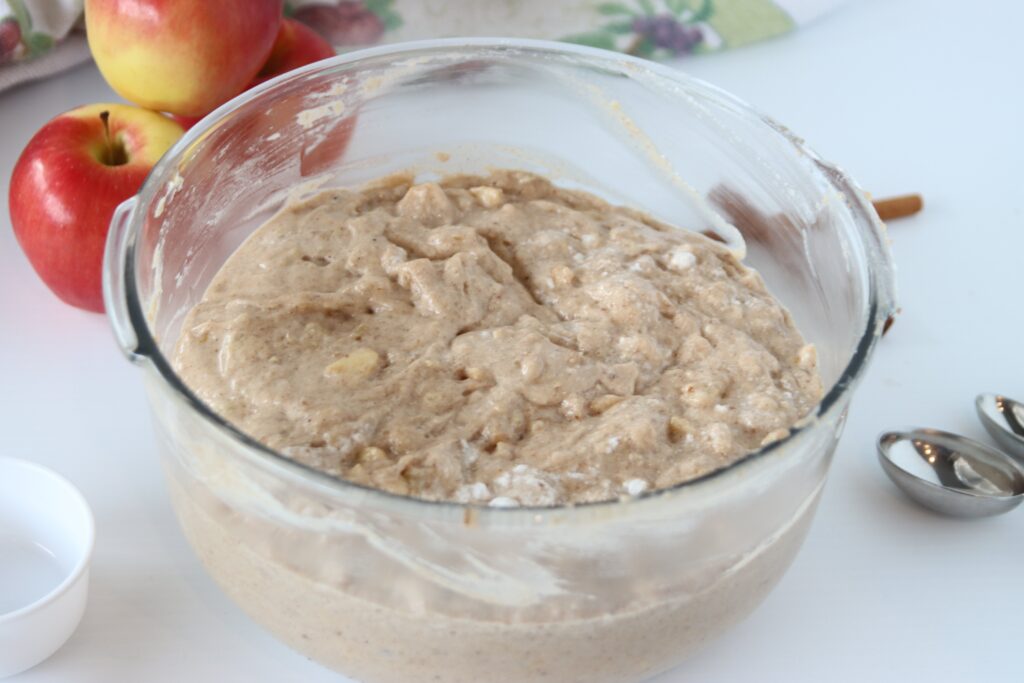
Now, for the very last step, you’ll fold in both your egg whites (being extremely careful not to deflate them since we need those air bubbles!) and the final source of apple flavour, chopped apples.
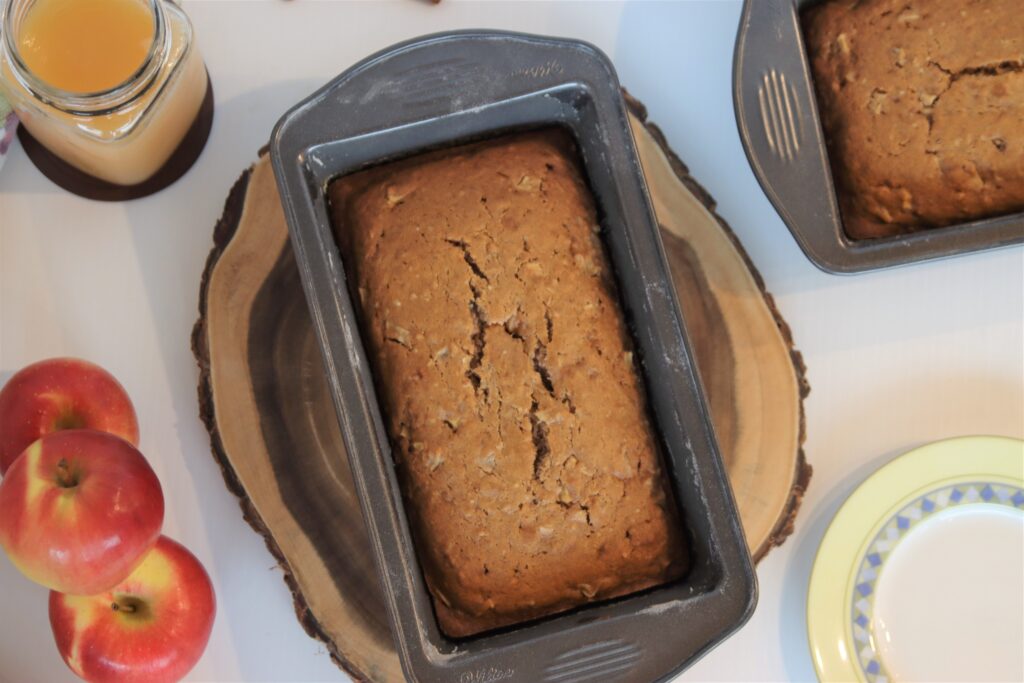
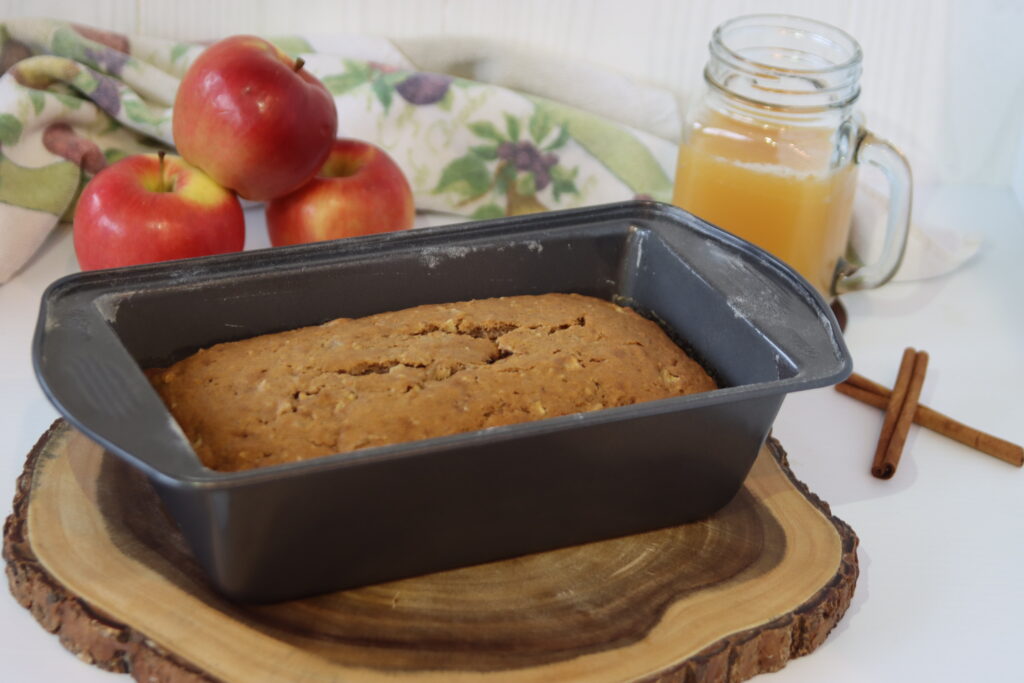
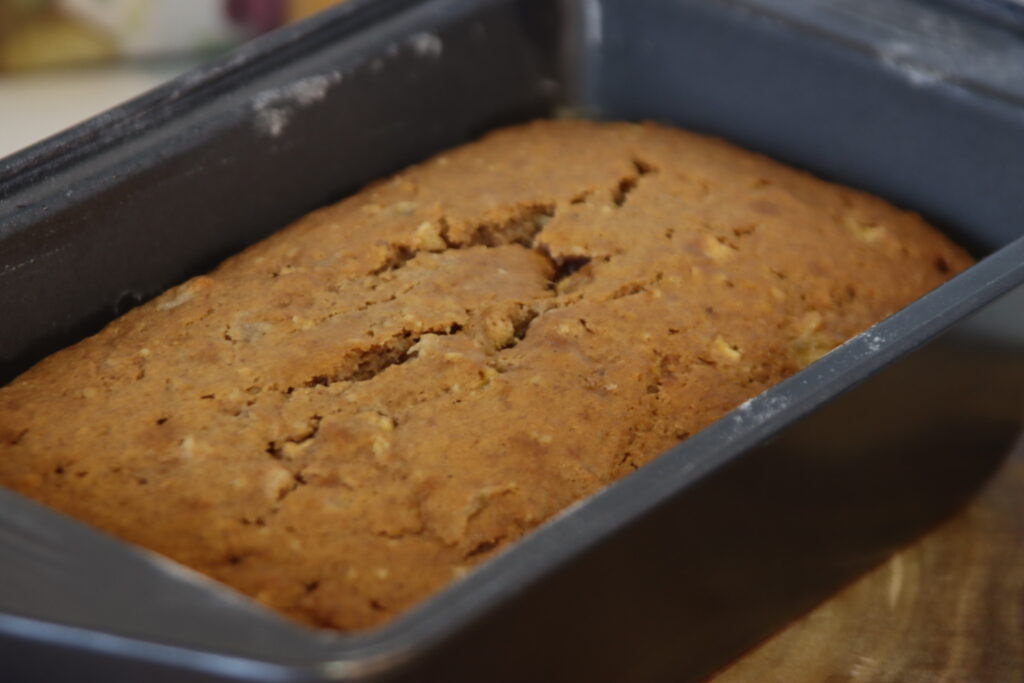
And that’s it, folks! Pop that in the oven for a very short, 45 minutes (although, be sure to test it because the bake time will depend on your oven), let it cool, and enjoy!
More Like This Apple Spice Cake:
I’ve actually used this same base recipe as the starting point to a lot of my recipes since it’s just so amazing! By substituting the apple mush for almost any other fruit or vegetable, you end up with amazing flavour and the same perfect texture, case in point my Carrot Cake recipe and Raspberry Cake recipe (which uses fresh or frozen raspberries right in the cake batter!). Be sure to check those out and let me know what you think of this recipe in the comments below! Happy baking!
Cinnamon Apple Cider Loaf Cake
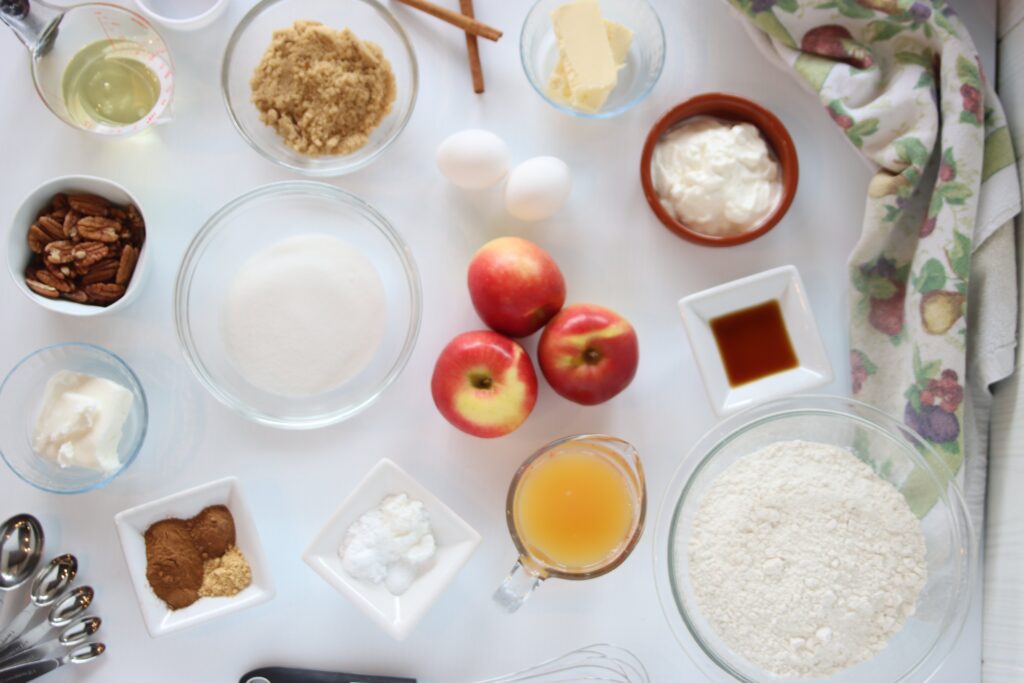
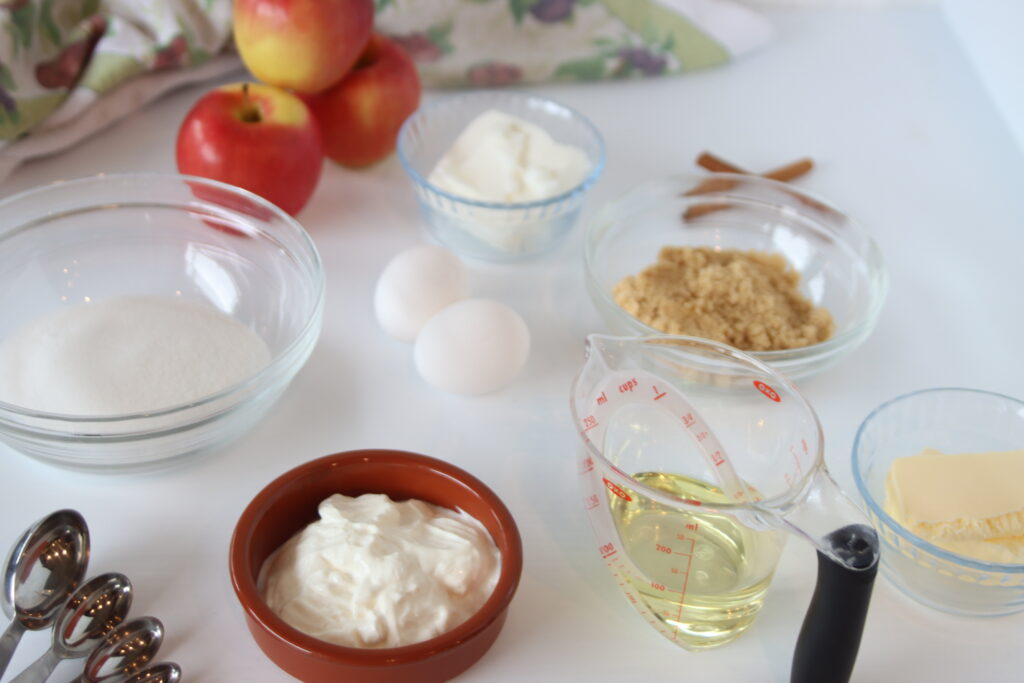
Ingredients
- 1 1/2 cup all purpose flour
- 1 1/4 tsp baking powder
- 3/4 tsp baking soda
- 1 1/2 tsp cinnamon
- 1 tsp ginger
- 1 tsp nutmeg
- 1/4 tsp salt
- 1 egg yolk
- 3/8 cup white sugar
- 1/4 cup brown sugar
- 3 tbsp butter melted and slightly cooled
- 3 tbsp shortening melted and slightly cooled (I use Crisco)
- 3 tbsp vegetable oil
- 1/4 cup sour cream
- 2 apples (I prefer peeled)
- 1 tbsp white sugar
- 1 tsp lemon juice
- 1 tbsp water
- 1/2 cup apple cider
- 1 tsp vanilla extract
- 1 egg white
Instructions
- Grease and flour a standard loaf pan, and line it with parchment paper (this makes lifting the cake out of the pan super easy).
- Chop one of the peeled apples into smaller pieces and put them in a small pot. We will be reducing these apples into an applesauce-like-mush.
- Over medium heat, cook the apples until soft and mushy, then add the tablespoon of sugar, splash of water, and lemon juice. Stir with a wooden spoon until they are blended together and resemble the correct consistency. Remove from heat and set aside.
- In a medium bowl, whisk the flour, baking powder, baking soda, spices, and salt.
- In a large bowl, whisk the egg yolk together with the white and brown sugar, until the lumps are gone (it will be thick). Pour in the melted butter, melted shortening, and oil, whisking to combine the mixture, but keep in mind that we don't want the melted fats to be too hot, otherwise it will start to cook the egg yolk. Add in the sour cream and the reduced apple mush (again, keeping in mind the heat).
- Stir the vanilla extract into the apple cider (I find it's best to do this directly in the measuring cup as to not create so many dishes to wash!).
- Chop the other apple into very small pieces. I do not usually use the entire apple, however it's up to you how much you want to add in since we will just be stirring this into the batter before baking.
- Preheat the oven to 335 degrees Fahrenheit.
- In a small bowl, whip the egg white with an electric mixer on high speed until it reaches stiff peaks.
- Alternate adding the dry ingredients (medium bowl with flour and spices) and the wet ingredients (measuring cup of apple cider and vanilla) into the large bowl of egg yolk, fat and sugar, whisking in between each addition.
- Fold the whipped egg whites into the batter with a spatula as to not deflate them. It's okay to leave the batter a bit lumpy with egg whites at this stage, since the air in the egg whites is what really helps this cake rise.
- Fold in the chopped apples.
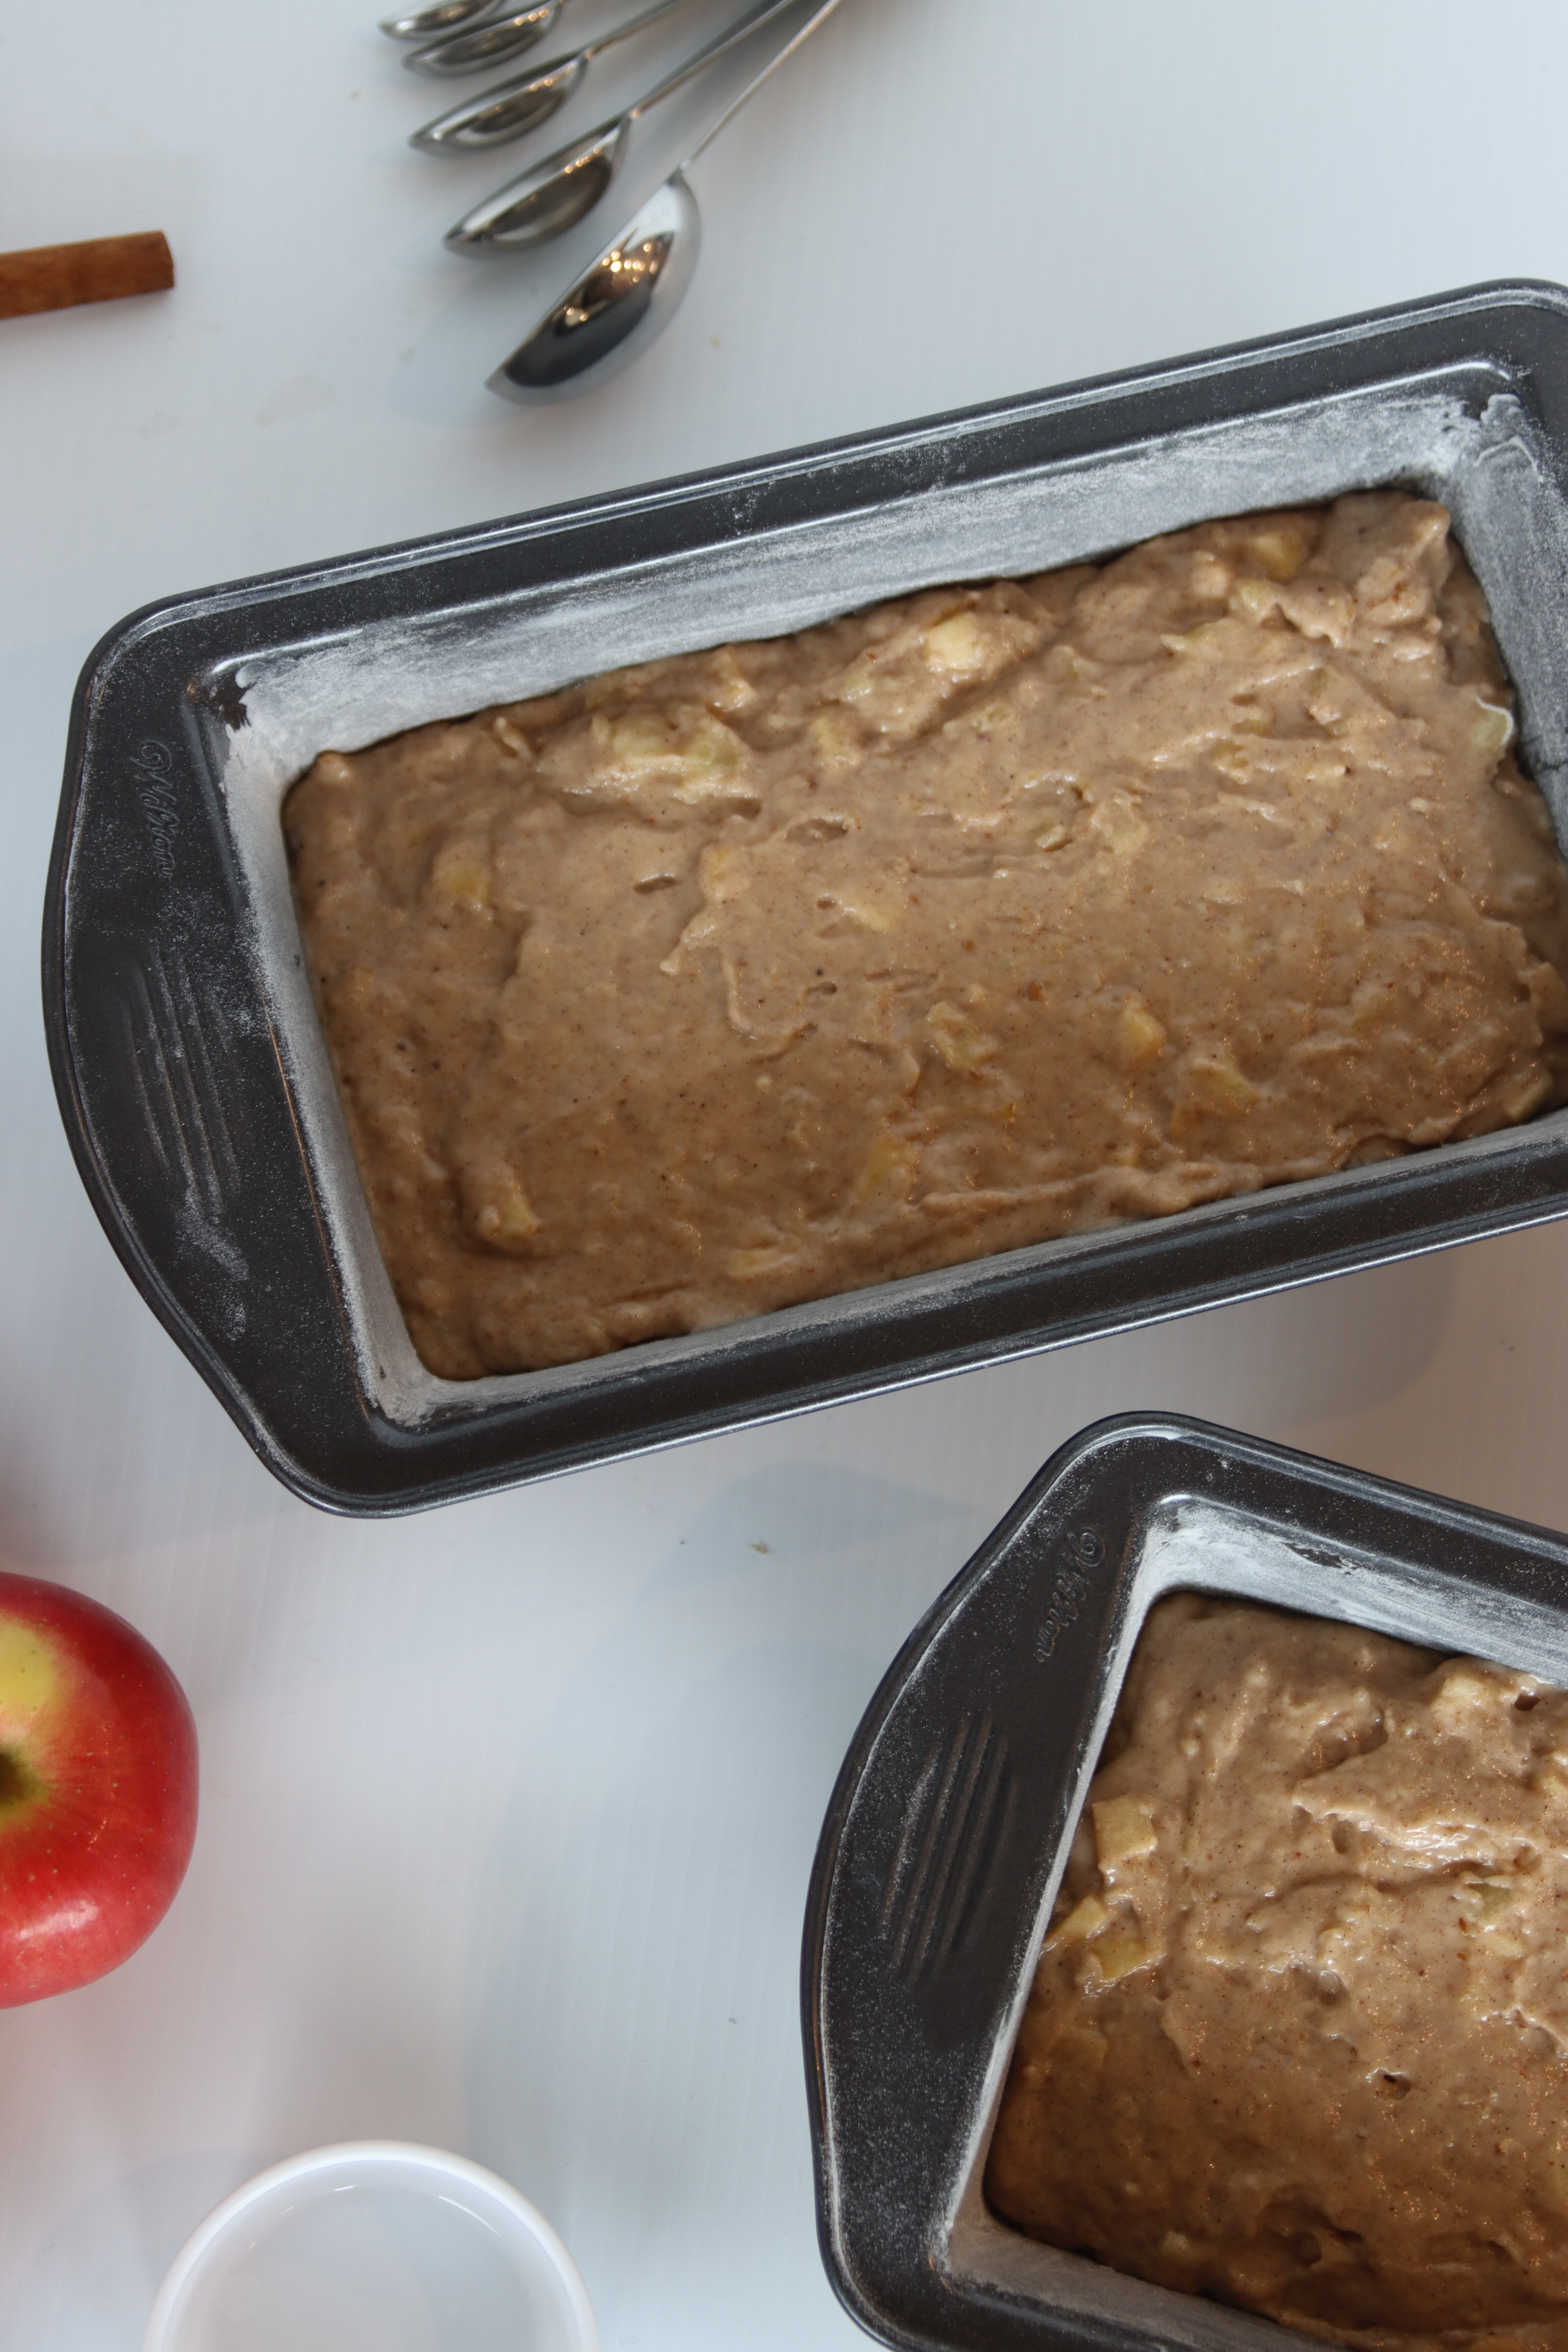
- Pour the batter into your prepared loaf pan and bake at 335 for 45 minutes, or until a toothpick inserted in the center comes out clean.
- Let the cake cool for about 10 minutes before lifting it out of the pan. Allow it to cool completely on a wire rack before cutting. Enjoy!